
Introduction: Why Home Fermentation Labs Are Trending—And How to Get It Right
Fermentation is experiencing a renaissance in home kitchens everywhere. From tangy sauerkraut and spicy kimchi to bubbly kombucha and creamy yogurt, fermenting your own foods is not only satisfying but also a fantastic way to boost gut health, reduce food waste, and experiment with flavors you won’t find on supermarket shelves. However, setting up a home fermentation lab isn’t as simple as tossing cabbage in a jar and waiting for magic to happen. Beginners often run into avoidable pitfalls that can jeopardize food safety, ruin flavors, or even waste months of effort. Whether you’re drawn to fermentation for its culinary creativity, its health benefits, or its sustainable edge, understanding the most common mistakes—and how to prevent them—will set you up for delicious, safe, and consistent results. This guide will walk you through the missteps new fermenters make, from equipment blunders to microbial mishaps, and provide actionable advice to help you build a home fermentation lab you’ll love using for years to come.
Choosing the Wrong Location for Your Fermentation Lab
Poor Temperature Control
One of the most critical factors for successful fermentation is temperature. Many beginners underestimate how much temperature fluctuations can affect the rate and quality of fermentation. Setting up your jars or crocks near a window, in a garage, or beside a heat vent may seem convenient but can result in inconsistent batches or even spoilage.
- Ideal temperature range: Most vegetable ferments thrive between 65°F and 75°F (18°C–24°C).
- Avoid: Placing ferments near ovens, radiators, or direct sunlight.
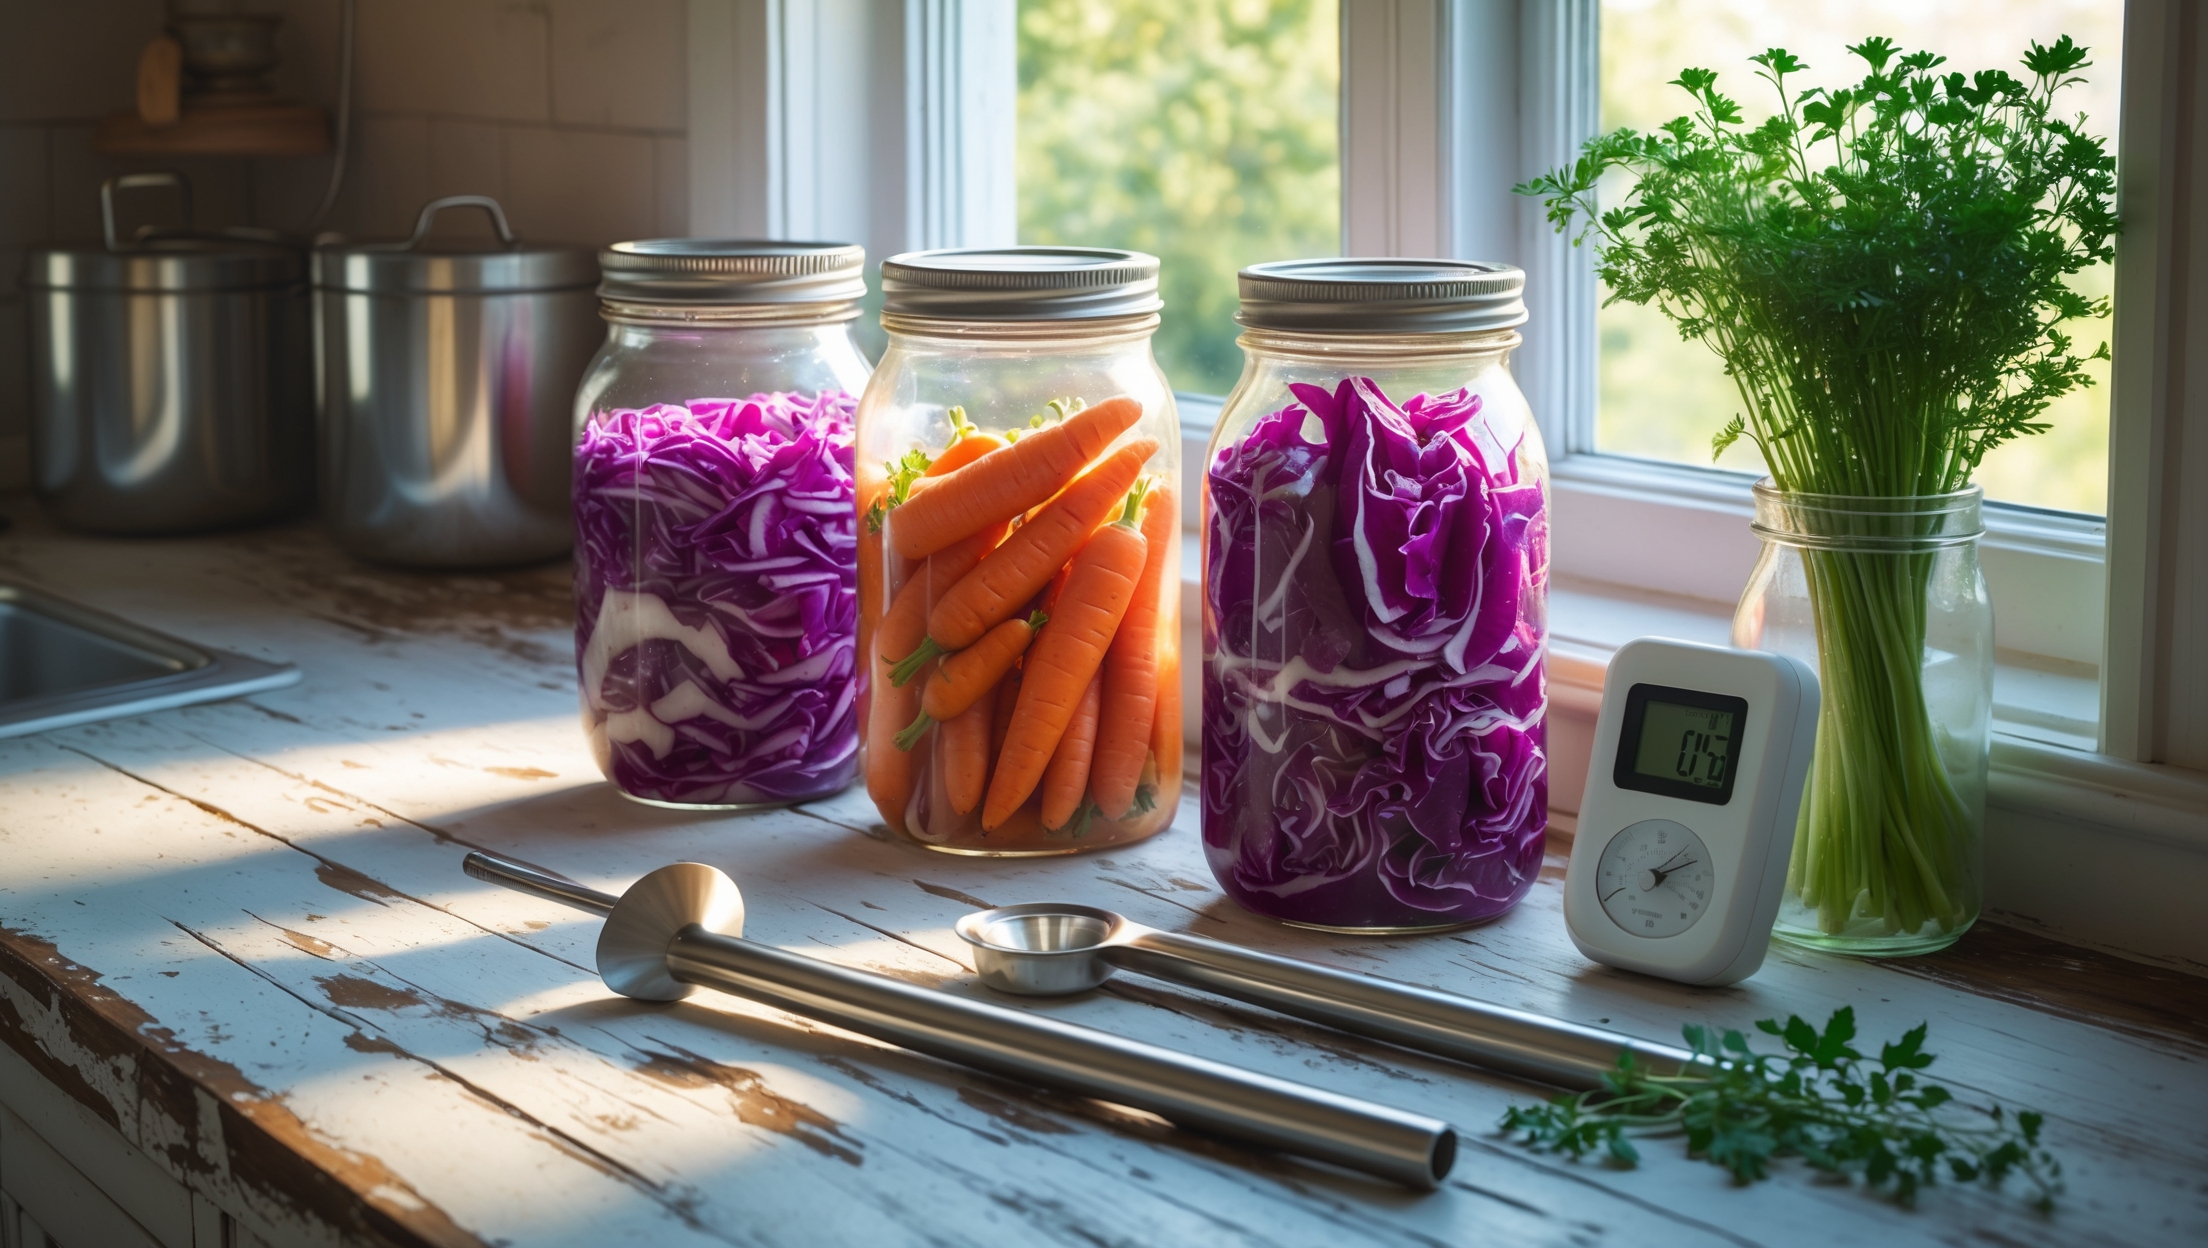
- Tip: Use a digital thermometer to monitor the ambient temperature in your chosen spot.
Ignoring Humidity and Airflow
Fermentation spaces should be well-ventilated but not drafty. Too much humidity can encourage mold growth, while too little can cause your brine to evaporate and expose ferments to air.
- Check for: Signs of condensation on walls or windows.
- Use: Dehumidifiers or fans in excessively damp areas.
Underestimating the Importance of Cleanliness
Improper Sanitization of Equipment
Many new fermenters believe that because fermentation relies on microbes, a completely sterile environment isn’t necessary. While you don’t need to sterilize like a canner, all jars, lids, weights, and utensils should be thoroughly cleaned before use to prevent undesirable bacteria or mold from outcompeting your beneficial microbes.
- Wash all equipment with hot, soapy water and rinse well.
- Consider a final rinse with diluted white vinegar for extra peace of mind.
- Allow all items to air dry completely before use.
Neglecting Hand Hygiene
Contaminating your batch with unwashed hands is an easy way to introduce unwanted microbes. Always wash your hands thoroughly before handling ingredients, especially after handling raw meats, pets, or gardening.
Using Inadequate or Unsuitable Equipment
Choosing the Wrong Containers
Not all jars and crocks are created equal. Beginners sometimes use plastic containers that can leach chemicals or react with acidic brines, or metal vessels that corrode.
- Best choices: Food-grade glass jars, ceramic crocks with lead-free glaze, or food-grade stainless steel for larger batches.
- Avoid: Painted ceramics, old plastic buckets, or any container with visible scratches or cracks.
Skipping Fermentation Weights
Vegetables exposed to air are prone to mold. Some beginners skip using weights, relying solely on packing veggies tightly. However, specialized glass or ceramic fermentation weights keep vegetables submerged, improving safety and consistency.
Improvising Airlocks or Lids
Using random lids or covering jars with cloth alone can invite fruit flies and create inconsistent results. Invest in proper fermentation lids or airlocks, which allow gases to escape while keeping contaminants out.
Ignoring Recipe Ratios and Salt Measurements
Using Too Little or Too Much Salt
Salt is not only a flavor enhancer but also essential for controlling microbial activity. Too little salt can allow spoilage bacteria to proliferate; too much can halt fermentation altogether or make food unpalatable.
- Typical ratio: 2–2.5% salt by weight of vegetables for sauerkraut and similar ferments.
- Always use a digital kitchen scale for accuracy; volume measurements can vary by salt type.
Substituting Iodized or Flavored Salts
Regular table salt often contains anti-caking agents or iodine, which can inhibit fermentation or cause off-flavors. Always use pure sea salt, kosher salt, or pickling salt.
Not Understanding Timing and Monitoring
Opening Jars Too Often
Curiosity is natural, but opening fermentation vessels frequently introduces oxygen and contaminants. Use clear containers to monitor progress visually and resist the urge to check too often.
Neglecting Regular Checks
On the flip side, some beginners forget to check on their ferments at all, missing early warning signs of mold or yeast blooms. Make it a habit to check for visual or aromatic changes daily, especially in the first week.
Discarding Ferments Prematurely
Some harmless surface yeasts (like kahm yeast) appear white and filmy. These are often mistaken for dangerous molds and lead to unnecessary waste. Learn to distinguish benign yeasts from fuzzy, colorful molds, which are a sign to discard.
Misjudging Ingredient Quality and Preparation
Using Old or Damaged Produce
Fermentation will not rescue vegetables past their prime. Start with the freshest, highest-quality ingredients possible. Wilted, moldy, or bruised produce can introduce unwanted microbes and off-flavors.
Improper Preparation Techniques
Chopping vegetables too coarsely can hinder brine formation, while over-shredding can lead to mushy textures. Follow recipe instructions for the ideal cut size and preparation method.
Overlooking Safety and Allergen Risks
Ignoring Cross-Contamination
If you have allergies or sensitivities, thoroughly clean all surfaces and utensils between batches, especially if using nuts, soy, or gluten-containing ingredients in some recipes.
Improper Storage After Fermentation
Once fermentation is complete, many products require refrigeration or cool storage. Leaving fermented foods at room temperature for extended periods can restart fermentation or cause spoilage.
- Label jars with the date of completion and recommended storage conditions.
- Monitor for changes in smell or appearance over time.
Not Keeping Records of Your Batches
Fermentation is part science, part art. Beginners often forget to record their process, making it hard to replicate successes or learn from failures. Keep a dedicated fermentation notebook or digital record of each batch, noting:
- Ingredients, quantities, and salt ratios
- Fermentation times and temperatures
- Taste and texture outcomes
- Any issues (e.g., yeast, mold, off-smells)
Falling for Fermentation Myths
There’s a lot of misinformation online. Don’t believe that all molds are safe, or that you can ferment anything without considering safety. Stick to well-tested recipes, especially as a beginner, and never consume anything that smells rotten or looks questionable.
Conclusion: Setting Up for Fermentation Success
Building a home fermentation lab is a rewarding endeavor that can open up a world of flavors, health benefits, and culinary creativity. However, the difference between a thriving fermentation practice and a series of disappointing, unsafe batches often comes down to avoiding a handful of common mistakes. By carefully choosing your location, prioritizing cleanliness, investing in appropriate equipment, following accurate recipes, monitoring your ferments, and keeping detailed records, you position yourself to learn, grow, and savor your efforts.
Remember, fermentation is as much about patience and observation as it is about following instructions. Don’t rush the process or cut corners, especially when it comes to safety. Start small, taste often, and don’t be discouraged by minor setbacks—each batch is an opportunity to learn. As you gain experience, you’ll develop an intuition for your favorite ferments and the unique quirks of your home environment. Before long, your home fermentation lab will become a source of pride, nutrition, and delicious experimentation. Happy fermenting!
You mentioned monitoring ambient temperature with a digital thermometer. Do you have recommendations for specific types or brands that work well for keeping an eye on homemade ferments, especially if I want to avoid spending a lot?
For home fermentation, a simple digital thermometer with a probe works well and doesn’t have to be expensive. Brands like ThermoPro or Taylor are reliable and usually cost under $20. Look for one that displays both minimum and maximum temperatures to easily track changes. Probe thermometers are great because you can check jars without opening them.
You mentioned that most ferments do best between 65 and 75 degrees, but my kitchen temperature changes a lot with the seasons. Is it better to use a cooler area that stays steady or a warmer spot that fluctuates? How sensitive are the ferments to these changes?
Ferments do best with steady temperatures, so a cooler area that stays consistent is generally preferable to a warmer spot with big swings. Most ferments can handle minor fluctuations, but rapid or large temperature changes can lead to slower fermentation or unwanted flavors. Aim for a stable spot, ideally between 65 and 75 degrees, even if it’s on the cooler side.