
Introduction: The Heart of Home Food Preservation
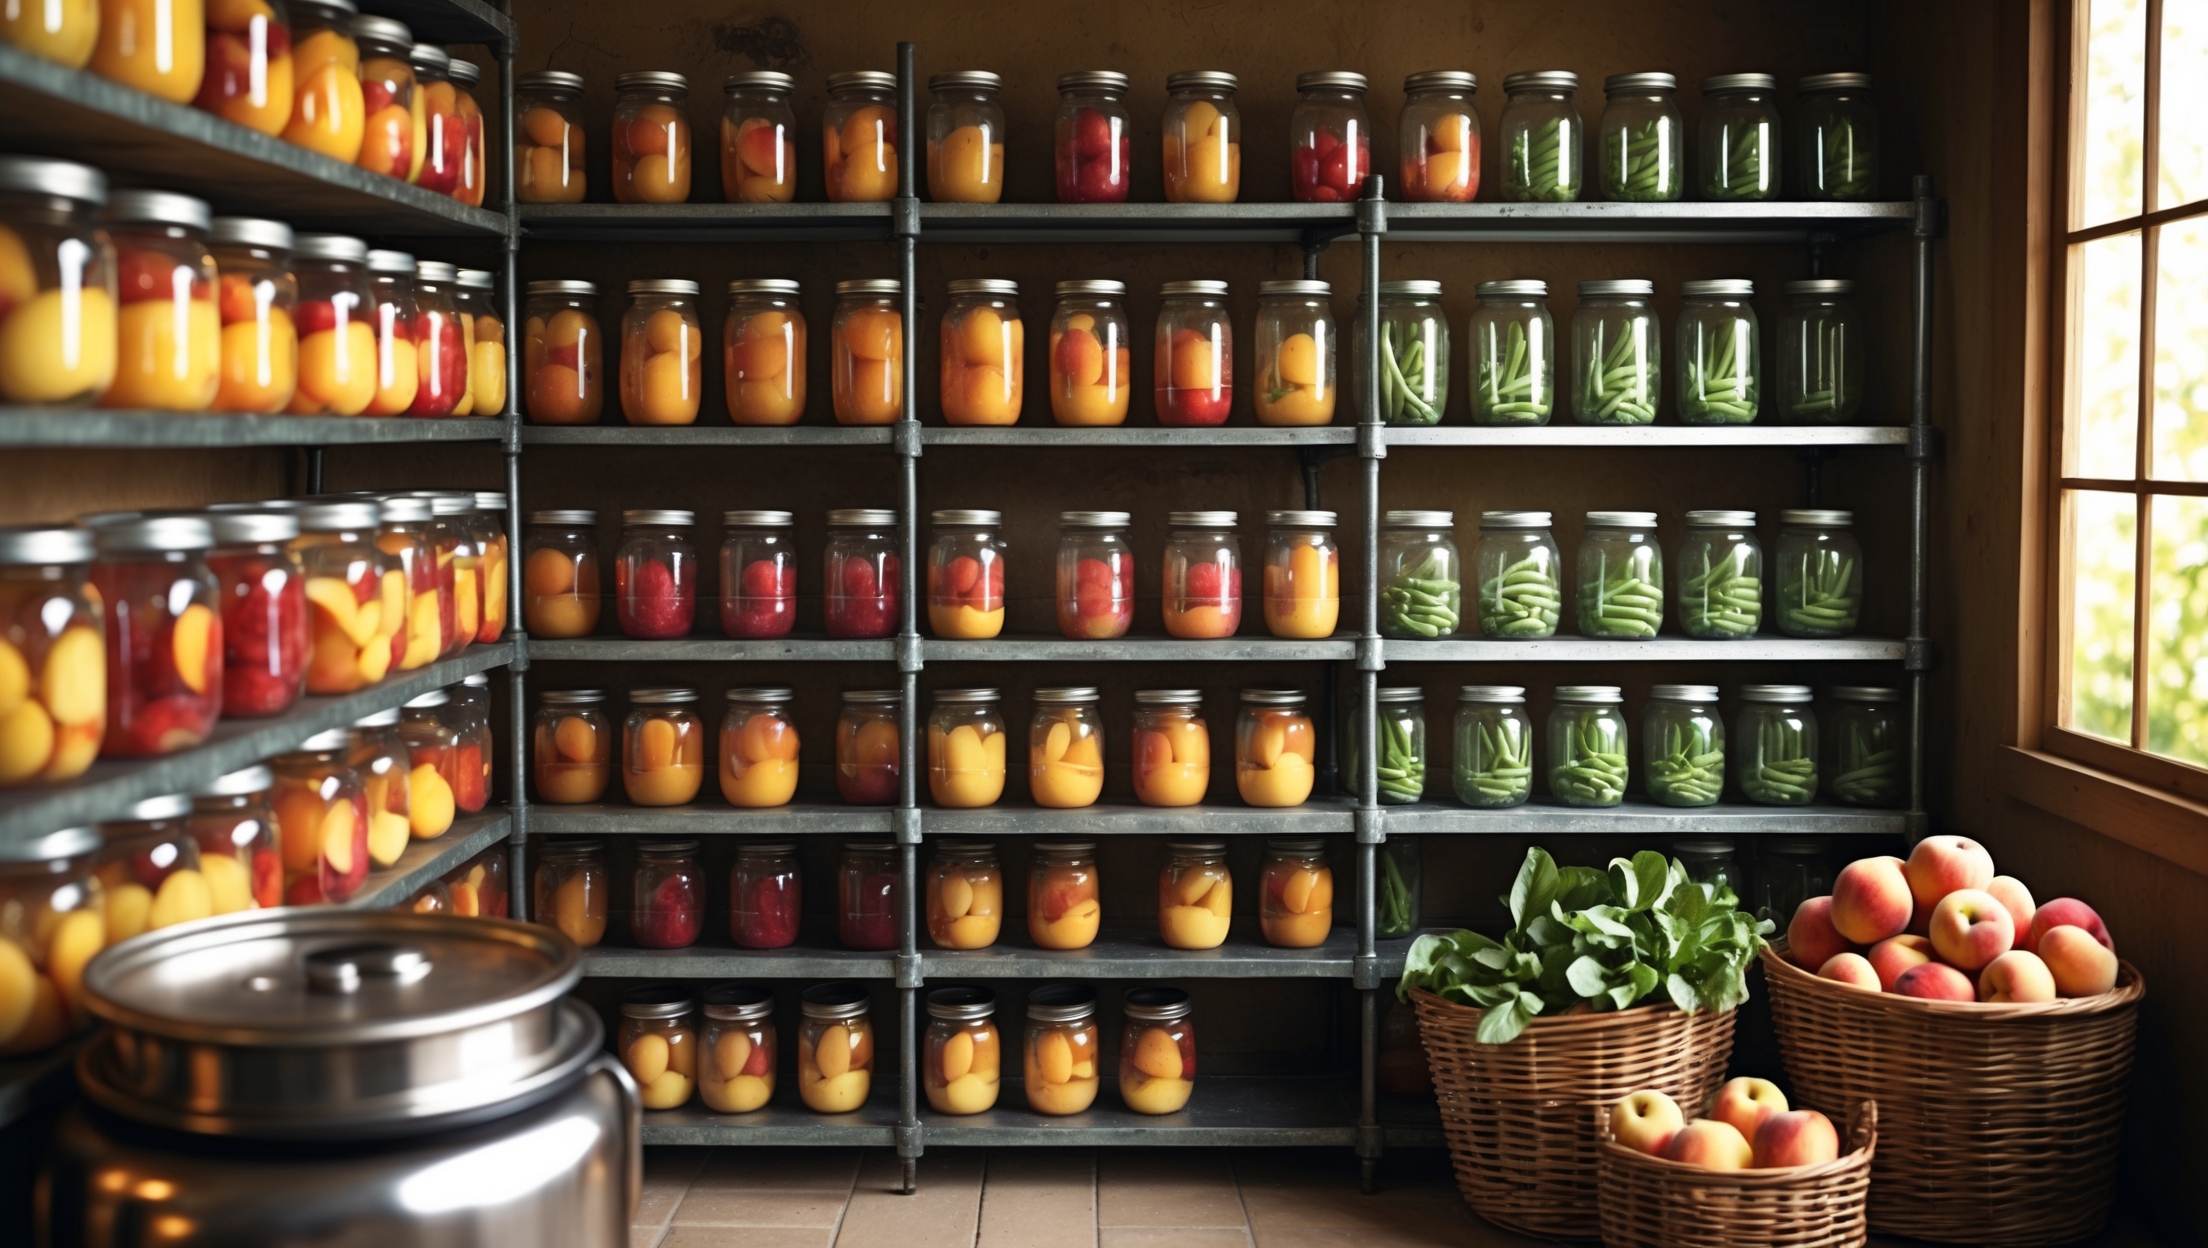
Imagine opening the door to a neatly organized pantry, shelves gleaming with rows of colorful jars packed with summer peaches, spicy pickles, tomato sauces, and garden-fresh green beans. For many home cooks, a canning pantry is more than just extra storage—it’s a year-round source of flavor, nutrition, and self-sufficiency. But whether you’re an eager beginner or a seasoned preserver, the difference between a canning experience that’s smooth and safe versus stressful and risky often comes down to one thing: having the right tools and equipment for the job.
A well-outfitted canning pantry isn’t just about jars and lids. It encompasses everything from heavy-duty canners to humble jar lifters, from temperature gauges to labeling supplies. Each piece serves a specific function, contributing to safety, efficiency, and the overall joy of preserving food at home. With grocery prices and food security concerns on the rise, more people than ever are turning to home canning as a practical, rewarding hobby. But with so many products on the market, where should you start? What tools are essential, nice-to-have, or total game-changers?
This comprehensive guide will demystify the process of outfitting a home canning pantry. We’ll break down the must-haves, the upgrades, and the organizational tips that make canning both safer and simpler. Whether you’re stocking up for the first time or fine-tuning your setup, you’ll find actionable advice here to make your canning sessions efficient and enjoyable all year long.
Core Equipment: The Non-Negotiables
1. Canners: Water Bath and Pressure
The starting point for any canning pantry is the canner itself, and you’ll need to choose based on what you plan to preserve.
- Water Bath Canner: Perfect for high-acid foods like jams, jellies, pickles, and most fruits. Look for a model with a sturdy rack, at least 21-quart capacity, and a tight-fitting lid. Enamel-on-steel and stainless steel are both durable options.
- Pressure Canner: Essential for low-acid foods (vegetables, meats, beans, soups). Ensure your canner is certified for pressure canning, not just pressure cooking. Models with dial-gauge and weighted-gauge options are available. Stainless steel canners are easy to clean and last longer, while aluminum heats up faster and is usually less expensive.
2. Canning Jars and Lids
Investing in high-quality jars is crucial for safety and longevity.
- Mason Jars: Standard sizes (half-pint, pint, quart) are most versatile. Wide-mouth jars are easier to fill, especially for whole fruits and pickles.
- Lids and Bands: Use new lids for each batch to ensure a proper seal. Bands can be reused if they’re rust-free and undamaged.
3. Jar Lifter
This specialty tong is designed for safely lifting hot jars in and out of boiling water or a hot canner. Choose one with a non-slip grip and cushioned handles for comfort and control.
4. Bubble Remover and Headspace Tool
Removing trapped air is vital for safety. This inexpensive tool doubles as a measuring stick to ensure the correct headspace between food and lid—critical for a reliable seal.
5. Canning Funnel
A wide-mouth funnel prevents spills and keeps jar rims clean—essential for proper sealing. Stainless steel models are dishwasher-safe and resist staining, but BPA-free plastic is also popular.
6. Magnetic Lid Lifter
This handy wand safely lifts hot lids from simmering water, protecting your fingers and ensuring lids remain sterile until use.
Upgrades and Nice-to-Have Tools
1. Digital Timer
Precise timing is crucial for food safety. A digital kitchen timer with loud alarms ensures you never under- or over-process your jars.
2. Scale (Digital or Mechanical)
Many canning recipes call for specific weights, especially for pickles, relishes, and jams. A reliable scale ensures accuracy and consistency.
3. Food Mill or Sieve
For making ultra-smooth sauces, purees, or removing seeds from berries and tomatoes. Stainless steel food mills are sturdy and easy to clean.
4. Ladle with Pour Spout
A ladle designed for canning helps fill jars neatly and quickly. Look for models with heat-resistant handles and a built-in spout.
5. Thermometer
For jams, jellies, and some pickles, achieving the right temperature is key to texture and safety. A candy or instant-read thermometer is ideal.
6. Labeling Supplies
Keep track of what you’ve canned with waterproof labels and a permanent marker. Include the contents and date for maximum organization.
7. Extra Storage Racks
If you’re canning in bulk, additional jar racks let you stack jars safely during processing and cooling.
Organization and Storage Solutions
1. Shelving Units
Sturdy, adjustable metal or wood shelves maximize space and keep jars accessible. Shelves should be deep enough for jars and strong enough to support their weight (jars are heavy!).
2. Temperature and Humidity Control
Ideally, your pantry should be cool (50–70°F), dark, and dry. Use a thermometer and hygrometer to monitor. Avoid basements prone to dampness, and install a dehumidifier if necessary.
3. Jar Organization Systems
- Jar Dividers or Crates: Prevents jars from knocking together and breaking.
- Tiered Racks: For smaller spaces, tiered racks double your storage surface.
4. Inventory Management
Keep a simple logbook or spreadsheet tracking what and when you’ve canned. Rotate older jars to the front and use them first. Consider color-coding labels for quick identification.
Safety Considerations: Equipment That Protects
1. Heat-Resistant Gloves
Canning involves boiling water, hot jars, and steam. A good pair of silicone or cotton-insulated gloves helps prevent burns when handling hot items.
2. Cleanliness and Sanitation Tools
- Dish Racks: For air-drying jars and lids after sterilization.
- Sanitizing Solution: Food-safe products like Star San or simple bleach solutions ensure all surfaces and tools are safe before use.
3. First Aid Kit
Keep a basic kit nearby for minor cuts or burns. Include burn ointment, adhesive bandages, and antiseptic wipes.
Choosing Quality: What to Look For in Canning Equipment
1. Materials
Opt for stainless steel, tempered glass, and BPA-free plastics for durability and safety. Avoid vintage or secondhand canners unless you can verify their integrity—pressure canners especially must be free from dents or corrosion.
2. Sizing
Match your equipment to your preserving goals. If you regularly can large batches, a bigger canner and more jars will save time. For small households, smaller canners and half-pint jars may be more practical.
3. Brand Reputation
Stick to reputable brands known for quality and safety. For jars: Ball, Kerr, and Weck. For canners: Presto and All American are industry standards.
4. Replacement Parts Availability
Especially for pressure canners, choose models with easily available replacement gaskets, gauges, and safety valves.
Maintaining Your Canning Tools: Longevity and Safety
1. Cleaning and Sterilizing
Wash all equipment thoroughly before and after use. Sterilize jars and lids as directed by your recipe or local food safety guidelines. Wipe down canners, especially the rim and gasket, to prevent residue buildup.
2. Inspecting for Damage
Before each canning session, inspect jars for chips and cracks, canner gaskets for flexibility, and pressure canner gauges for proper calibration (most county extension offices offer gauge testing).
3. Off-Season Storage
Store equipment in a clean, dry area. Keep lids and bands in a container to prevent rust. Remove gaskets from pressure canner lids when not in use to prolong their life.
Budgeting for Your Canning Pantry: Cost-Saving Tips
1. Start Small, Expand Gradually
Start with the essentials and add specialty tools as your skills and needs grow. Borrow or share equipment with friends or neighbors for large batches.
2. Shop Off-Season
Retailers often discount canning supplies in the winter. Stock up on jars and lids when prices drop.
3. Buy in Bulk
Purchase jars, lids, and produce in bulk for savings. Consider joining a food co-op or local farm CSA for affordable produce to preserve.
4. Maintain Your Tools
Proper care extends the life of your equipment, reducing the need for frequent replacements.
Frequently Overlooked Tools That Make a Big Difference
- Jar Labels: Prevent mystery jars and food waste.
- Cooling Racks: Allow air to circulate around hot jars for even cooling.
- Plastic Scrapers: For safely removing stuck-on food from jars and canners without scratching.
- Measuring Cups and Spoons: Accuracy matters for both flavor and safety.
Tips for Safe and Efficient Canning Sessions
- Assemble all tools before starting—nothing derails a session like a missing funnel or jar lifter.
- Read recipes thoroughly and prep ingredients in advance.
- Keep a kettle of boiling water handy to top up the canner or sterilize tools as needed.
- Work in an uncluttered space with plenty of counter room for filling and cooling jars.
- Follow up-to-date canning guidelines from trusted sources (such as the USDA or local extension offices).
Conclusion: Building a Pantry That Works for You
Outfitting a home canning pantry is about more than just collecting jars and gadgets—it’s about creating a safe, efficient, and enjoyable space that supports your food preservation goals year-round. By investing in quality equipment, organizing your space thoughtfully, and maintaining your tools, you’ll set yourself up for years of successful canning. The right tools not only make canning safer and easier, but they also enhance the satisfaction of seeing your shelves fill with homemade preserves, pickles, and sauces.
Remember, every canning journey is unique. Start with the basics, learn as you go, and don’t be afraid to tweak your setup based on your favorite recipes and family traditions. Over time, your pantry will become a reflection of your tastes, creativity, and hard-earned skills. Whether you’re putting up a few jars of strawberry jam or stocking enough tomatoes to last the winter, the joy of home canning is amplified by a pantry that’s ready for anything.
Above all, approach each canning session with care and curiosity. Use reliable resources, trust your equipment, and savor the process. Your future self—and everyone you share your preserves with—will thank you for it.
For someone just starting out, which tools from your list would you consider absolutely essential, and which ones could wait until I have more experience or a bigger budget?
For beginners, start with essentials: a large stockpot or water bath canner, canning jars, new lids, a jar lifter, a funnel, and a bubble remover/headspace tool. Items like a pressure canner, specialized jar racks, or label makers can wait until you’re more experienced or ready to expand your setup.
You mentioned labeling supplies as part of outfitting a pantry—do you have specific recommendations for labeling that hold up best in humid or basement storage conditions?
For labeling jars in humid or basement storage, I recommend using waterproof labels or freezer labels, as they resist moisture and stay put. Permanent markers like oil-based paint pens also hold up well. Avoid regular paper labels, as they can peel or smear in damp conditions.
Can you share some organizational tips for making sure all those jars and lids actually fit in a typical kitchen pantry? I sometimes feel overwhelmed by the clutter when I try to store supplies year-round.
Storing canning supplies efficiently can definitely be a challenge! Try grouping jars by size and stacking them with sturdy shelf dividers or boxes to maximize space. Keep lids and rings in clear bins or drawer organizers, and label everything so you can quickly find what you need. Rotating older jars to the front helps keep your pantry tidy and ensures nothing goes to waste.
If I’m just starting out and want to stick to a budget, which equipment would you recommend I invest in first, and which tools could I realistically hold off on or substitute with common kitchen items?
To start canning on a budget, invest first in essential items like canning jars with lids, a basic water bath canner, and a jar lifter for safety. You can use a large stockpot instead of a canner, and substitute a kitchen towel for a rack at the bottom. Specialty tools like magnetic lid lifters, bubble removers, and dedicated funnels can wait until later.
You talk about jar lifters and temperature gauges as important safety tools. For someone just starting out, is there a reliable starter kit you’d recommend that covers the essentials without breaking the bank?
A reliable starter canning kit for beginners usually includes essentials like a jar lifter, funnel, bubble remover, and a rack for your canner. Look for kits labeled ‘home canning starter set’ at most kitchen supply stores or online—they often bundle these tools affordably. Sometimes, basic kits also include a temperature gauge or thermometer, which is helpful for accuracy and safety.
I noticed you mentioned both enamel-on-steel and stainless steel water bath canners. Are there any major differences in durability or performance between the two, especially for someone who plans to can frequently throughout the year?
Stainless steel water bath canners are usually more durable and resistant to chipping compared to enamel-on-steel, which can crack or chip if dropped or banged. For frequent canning, stainless steel tends to hold up better over time. Performance is similar, but stainless steel often heats more evenly and is easier to clean.
For someone completely new to canning, what’s the minimum investment in tools and equipment to get started safely without buying extras I might not use often?
To start canning safely as a beginner, you’ll need just a few essential items: a large pot with a rack (for water bath canning), canning jars with lids and bands, a jar lifter, a funnel, and a bubble remover or spatula. These basics cover most beginner recipes, so you can add specialized tools later as needed.
You mention the importance of choosing between water bath canners and pressure canners depending on what you plan to preserve. Is it possible to use a pressure canner for high-acid foods as well, or are there advantages to having both types?
Yes, you can use a pressure canner for high-acid foods, but most people find water bath canners quicker and easier for those items like jams or pickles. Water bath canners are usually lighter, use less energy, and are ideal for batches of high-acid preserves, while pressure canners are necessary for low-acid foods such as vegetables and meats. Having both gives you flexibility and efficiency depending on what you’re preserving.