
Introduction: The Importance of Weather Station Maintenance
Home weather stations have become indispensable tools for gardeners, hobbyists, and anyone interested in monitoring local weather conditions. These compact yet sophisticated devices can provide real-time data on temperature, humidity, rainfall, wind speed, and more—all from your backyard. However, the accuracy and longevity of your weather station depend heavily on regular maintenance. Dust, pollen, insects, and the elements can all interfere with sensors over time, leading to skewed readings and potential equipment failure. Even the best weather stations require thoughtful upkeep to ensure they continue to provide reliable data year-round.
Neglecting maintenance not only undermines the usefulness of your weather station, but it can also result in costly repairs or replacements. Whether you’re tracking rainfall for your garden, wind speeds for safety, or simply enjoying the science of meteorology, learning how to properly care for your home weather station is essential. This comprehensive guide will walk you through proven maintenance best practices, from routine cleaning to sensor calibration, troubleshooting common issues, and preparing your equipment for seasonal changes. With a little time and attention, you’ll keep your weather station running smoothly and accurately, no matter what the forecast brings.
Understanding Your Home Weather Station
Common Components and Their Roles
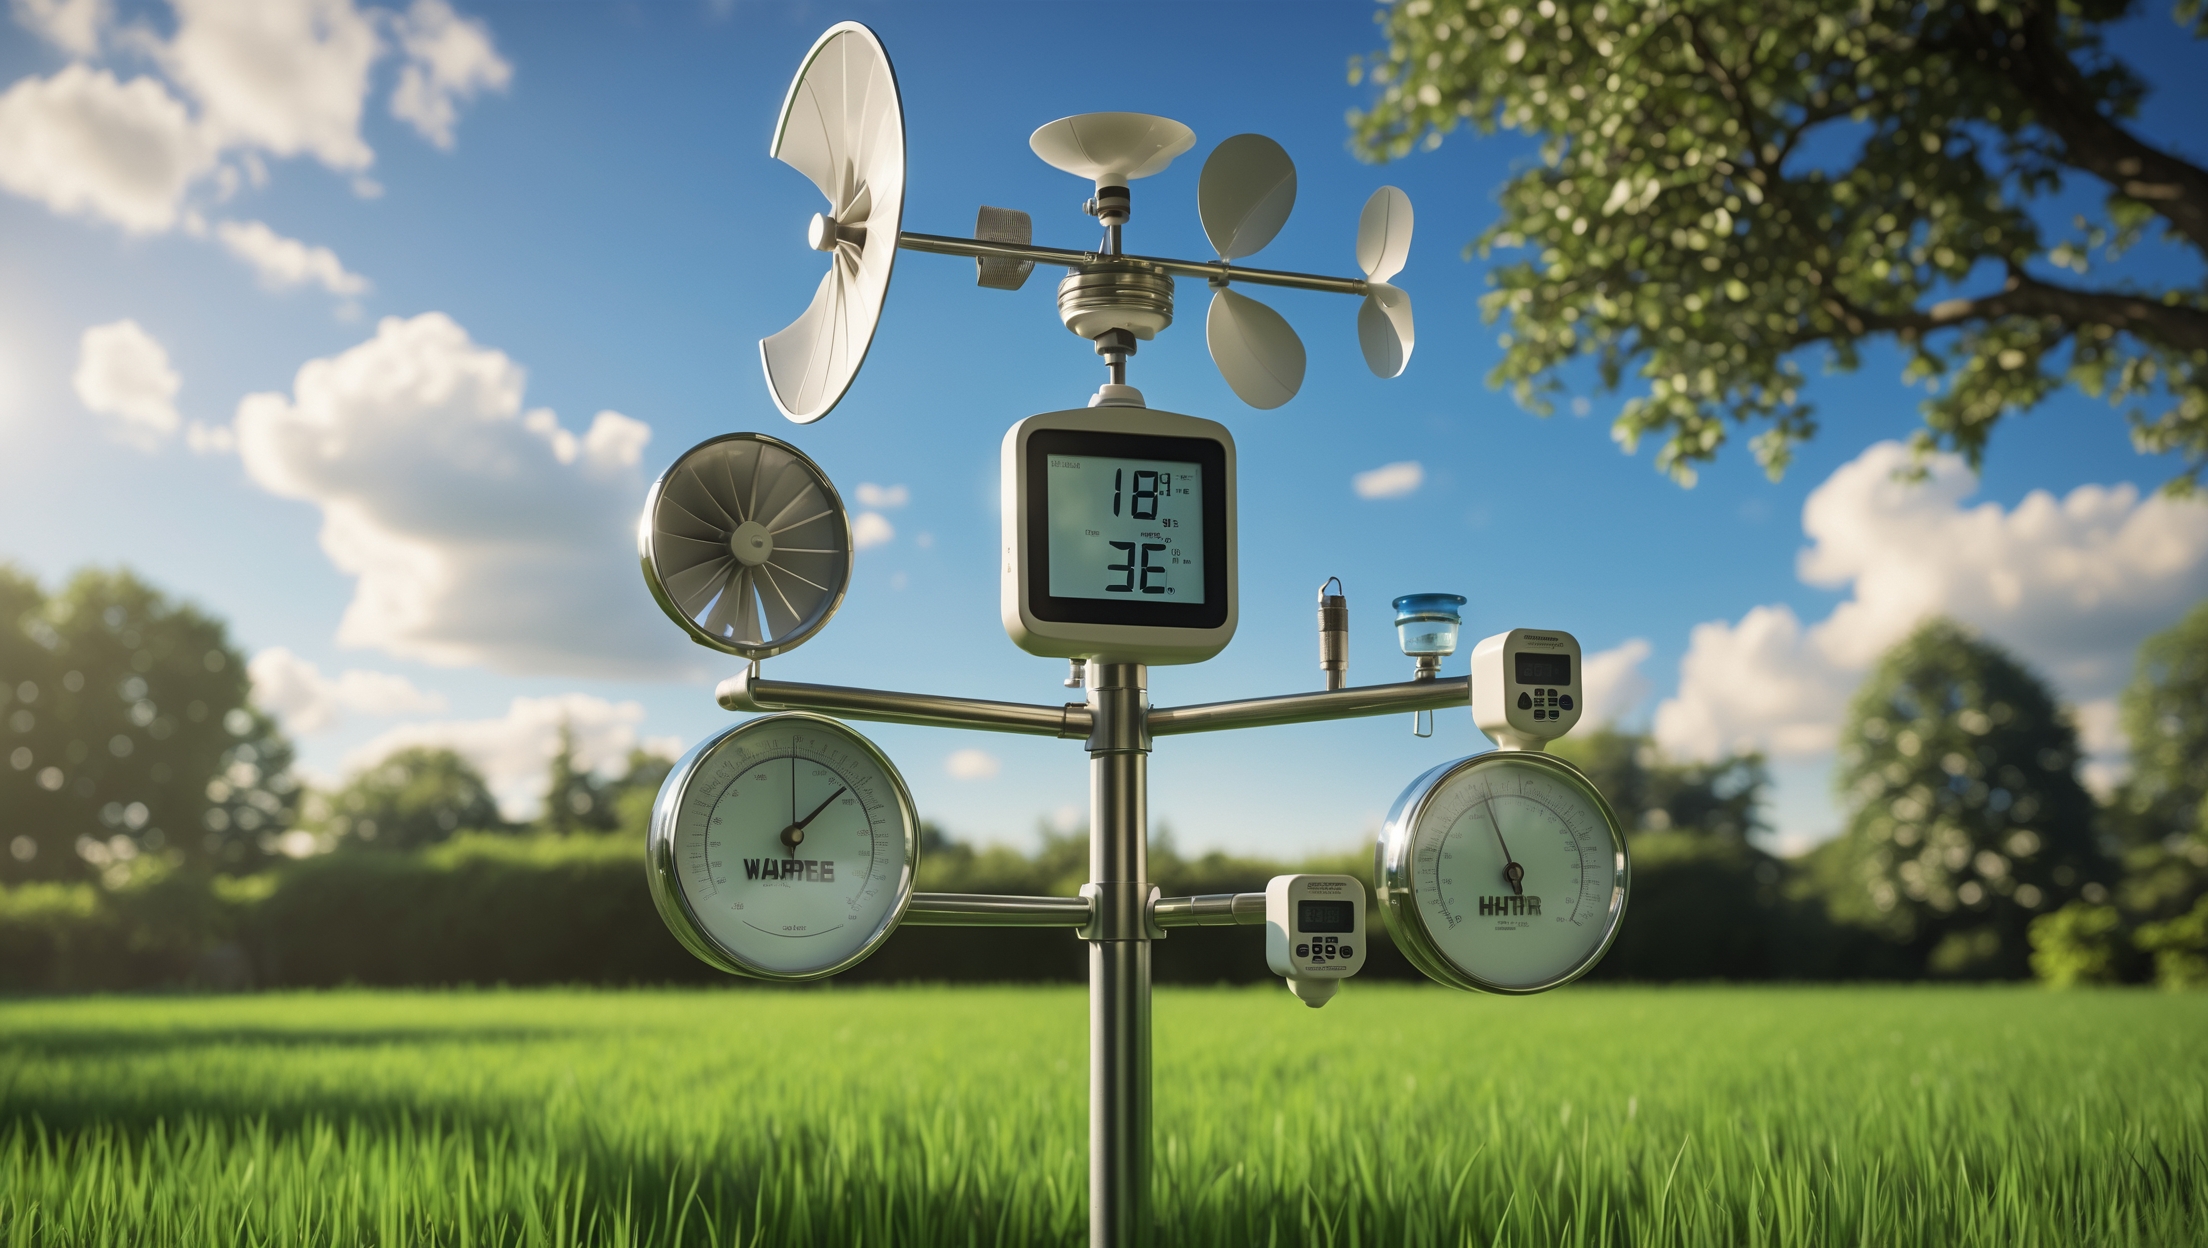
Before diving into maintenance routines, it’s vital to understand the main components of a typical home weather station:
- Thermometer: Measures air temperature.
- Hygrometer: Gauges humidity levels.
- Barometer: Tracks atmospheric pressure.
- Anemometer: Records wind speed and direction.
- Rain Gauge: Collects and measures precipitation.
- Radiation Shield: Protects temperature/humidity sensors from direct sunlight.
- Solar Panel/Battery: Powers the station (if not mains-powered).
- Wireless Transmitter: Sends data to the indoor console or online platforms.
Each component requires specific care to ensure optimal performance. Regular checks help catch issues early, before they lead to inaccurate readings or equipment failure.
Routine Maintenance Checklist
Weekly and Monthly Tasks
- Visual Inspection: Check for dirt, debris, spider webs, bird droppings, and insect nests on and around sensors.
- Rain Gauge Cleaning: Remove leaves, twigs, and any obstructions from the collector funnel. Wipe the inside with a soft, damp cloth.
- Anemometer Check: Spin the cups or vanes gently to ensure they rotate freely. Look for lodged debris or signs of corrosion.
- Temperature/Humidity Sensor: Inspect the radiation shield for dust buildup. Clean with a soft brush or compressed air if necessary.
- Solar Panel Wipe-Down: Clean with a gentle, lint-free cloth to maximize energy absorption.
- Battery Status: Check battery levels on the console; replace or recharge as needed.
Quarterly and Semi-Annual Tasks
- Sensor Calibration: Compare readings with a known-accurate reference (more on this below).
- Firmware Updates: If your station is WiFi-enabled, check for manufacturer software updates to improve performance or fix bugs.
- Structural Inspection: Examine mounting poles, brackets, and cables for rust or damage. Tighten loose fittings.
- Wireless Signal Test: Ensure data is transmitting consistently to your console or online service.
Cleaning Techniques for Each Sensor
Rain Gauge
Remove the collection funnel and empty any water or debris. Wash the funnel and collector with mild soap and warm water. Avoid harsh chemicals that could damage the plastic. Rinse thoroughly and dry before reassembly. For tipping-bucket gauges, gently clean the buckets and check for algae or residue buildup.
Anemometer
Carefully spin the cups to dislodge dust or spider webs. Use a soft, damp cloth to clean the blades or vanes. For stubborn grime, apply a cotton swab dipped in isopropyl alcohol. Lubricate the pivot point with a small drop of light machine oil if recommended by the manufacturer.
Thermometer and Hygrometer
Do not touch the sensors directly. Instead, clean the radiation shield with a soft brush to remove dust and pollen. If needed, use compressed air to clear fine particles. Avoid spraying liquids directly on the sensors.
Solar Panel
Wipe gently with a clean microfiber cloth. For sticky residues, dampen the cloth with distilled water. Avoid scratching the surface to maintain maximum efficiency.
Calibration: Ensuring Accurate Readings
Why Calibration Matters
Even the best sensors can drift over time, especially when exposed to harsh outdoor environments. Regular calibration ensures your weather data remains trustworthy and actionable.
How to Calibrate Key Sensors
- Thermometer: Place a laboratory-grade thermometer next to your station’s sensor in a shaded, open area. Allow both to stabilize for 30 minutes, then compare readings. Adjust your station’s settings if discrepancies exceed manufacturer tolerance.
- Hygrometer: Use a saturated salt test (placing the sensor in a sealed bag with moist salt) to check for accuracy at 75% relative humidity. For more precision, compare with a calibrated reference device.
- Barometer: Compare readings to a trusted local source—such as a nearby airport or weather service. Some stations allow manual adjustments via the console or app.
- Anemometer: Visual comparison is often sufficient, but for scientific accuracy, use a handheld anemometer alongside your station during steady wind conditions.
- Rain Gauge: Pour a measured amount of water (using a graduated cylinder) into the gauge and verify the station’s output matches the input. Adjust calibration if needed.
Troubleshooting Common Issues
- Inconsistent Readings: Often caused by sensor obstruction, battery issues, or wireless interference. Check for obstructions, swap batteries, and relocate the console if needed.
- Sensor Dropout: If the console loses signal from outdoor sensors, check for low batteries, physical damage, or interference from wireless devices. Re-pair sensors according to manufacturer instructions.
- False Rainfall or Wind Readings: Bird droppings, insects, or debris can trigger false measurements. Clean all affected sensors and consider installing deterrents (like bird spikes).
- Display Errors: Software glitches can sometimes cause blank or frozen displays. Reset the console and check for firmware updates.
Preparing for Seasonal Challenges
Spring and Summer
- Pollen and Dust: Clean sensors more frequently, especially during peak pollen periods.
- Insects: Regularly inspect for nests or webbing, particularly around the rain gauge and anemometer.
Autumn
- Falling Leaves: Check the rain gauge and solar panel weekly to clear accumulated debris.
- Weatherproofing: Inspect seals and gaskets for wear. Replace if necessary to keep moisture out during wet weather.
Winter
- Frost and Snow: Gently remove snow buildup from sensors. Never use sharp tools that could damage delicate components.
- Battery Performance: Lithium batteries perform better than alkaline in cold temperatures. Consider switching before winter sets in.
- Ice Accumulation: If your area experiences freezing rain, check sensors after each storm and clear ice carefully.
Protecting Your Investment: Proactive Measures
Choosing the Right Location
Proper siting is crucial for both accuracy and longevity. Mount your weather station in an open area, away from heat sources (like roofs or pavement), and at the recommended height (typically 4-6 feet for temperature/humidity sensors, 33 feet for wind sensors if possible). Secure all mounting hardware to withstand high winds and storms.
Wildlife and Pest Deterrence
- Bird Spikes: Install on top of the rain gauge or radiation shield to prevent perching.
- Insect Screens: Fine mesh can be placed over sensor openings (without obstructing airflow) to keep bugs out.
- Rodent Guards: If wiring runs along the ground, use split conduit or cable protectors.
Surge and Lightning Protection
If your area is prone to lightning, consider installing a surge protector or disconnecting the station during severe storms. Grounding outdoor equipment is recommended where feasible.
Extending the Life of Your Weather Station
Replacement Parts and Upgrades
Manufacturers often sell replacement sensors, cups, or solar panels. Keep an eye on performance trends—if you notice persistent discrepancies or mechanical wear, replacing just one component can restore full functionality without the expense of a new station. Some brands offer upgrade kits to add more sensors or improve wireless range.
Record Keeping and Data Backups
Many stations allow you to export data to a computer or cloud service. Back up regularly to retain long-term climate records. Keep a maintenance log detailing cleaning dates, battery changes, and calibration checks. This helps troubleshoot future issues and track sensor drift over time.
Conclusion: Reliable Data for Years to Come
A well-maintained home weather station is more than a gadget—it’s a trusted companion for gardeners, weather buffs, and anyone who values hyper-local climate data. By investing a little time in routine cleaning, calibration, and seasonal preparation, you ensure your sensors provide accurate, actionable information year after year. Proactive care not only extends the life of your equipment but also saves you money by preventing costly repairs or replacements. With the guidelines in this article, you can confidently navigate the challenges of dirt, debris, weather, and wildlife, keeping your weather station in peak condition.
Remember, maintenance is not a one-time task but an ongoing process. Set calendar reminders for regular checks, stay informed about firmware updates, and don’t hesitate to contact the manufacturer if you encounter persistent issues. The rewards—a reliable stream of precise weather data—are well worth the effort. Whether you’re tracking rainfall for your tomatoes or monitoring winter storms, a well-cared-for weather station will deliver insights and peace of mind for many seasons to come.
If I have my weather station set up near my garden, how often should I clean the sensors like the thermometer and rain gauge to make sure the readings stay accurate, especially during pollen season?
When your weather station is close to a garden, it’s a good idea to check and clean the sensors every two weeks, especially during pollen season. Pollen, dust, and debris can build up quickly, so regular cleaning of the thermometer and rain gauge ensures accurate readings. If you notice heavy pollen, you might want to clean them weekly.
If my weather station starts reporting unusual humidity levels, what are the first troubleshooting steps you recommend before considering a sensor replacement?
First, check that the sensor is clean and free from dust, spider webs, or moisture build-up. Make sure the station is properly sheltered and not exposed to direct water sources. Try resetting the device and ensure the batteries are fresh. If readings are still off, recalibrate the humidity sensor if your model allows it before considering a replacement.
Are there any maintenance tips for weather stations that run on solar panels during the winter months when there’s less sunlight and more snow?
For solar-powered weather stations in winter, keep the solar panels clear of snow and debris to maximize sunlight exposure. Position panels at a steeper angle to help snow slide off. Regularly check battery levels and, if possible, use rechargeable batteries rated for cold temperatures to ensure reliable operation during shorter daylight hours.
How often do most people realistically need to troubleshoot or replace parts like the wireless transmitter or rain gauge, and are there signs I should watch for that indicate something’s starting to fail?
Most users find that parts like the wireless transmitter or rain gauge may need troubleshooting or replacement every 2 to 3 years, though this can vary with weather conditions and usage. Watch for signs such as inconsistent readings, frequent signal loss, or the rain gauge failing to register rainfall, as these often indicate it’s time to check or replace components.
Can you suggest any easy methods for cleaning pollen or insect debris out of the rain gauge and anemometer without damaging them? I always worry I’ll break something if I take it apart.
To clean pollen or insect debris from the rain gauge, rinse it gently with water—avoid harsh scrubbing. For the anemometer, use a soft brush or canned air to dislodge debris without forcing anything. If parts are removable, consult your manual to see if you can take them apart safely, but often gentle surface cleaning works well.