
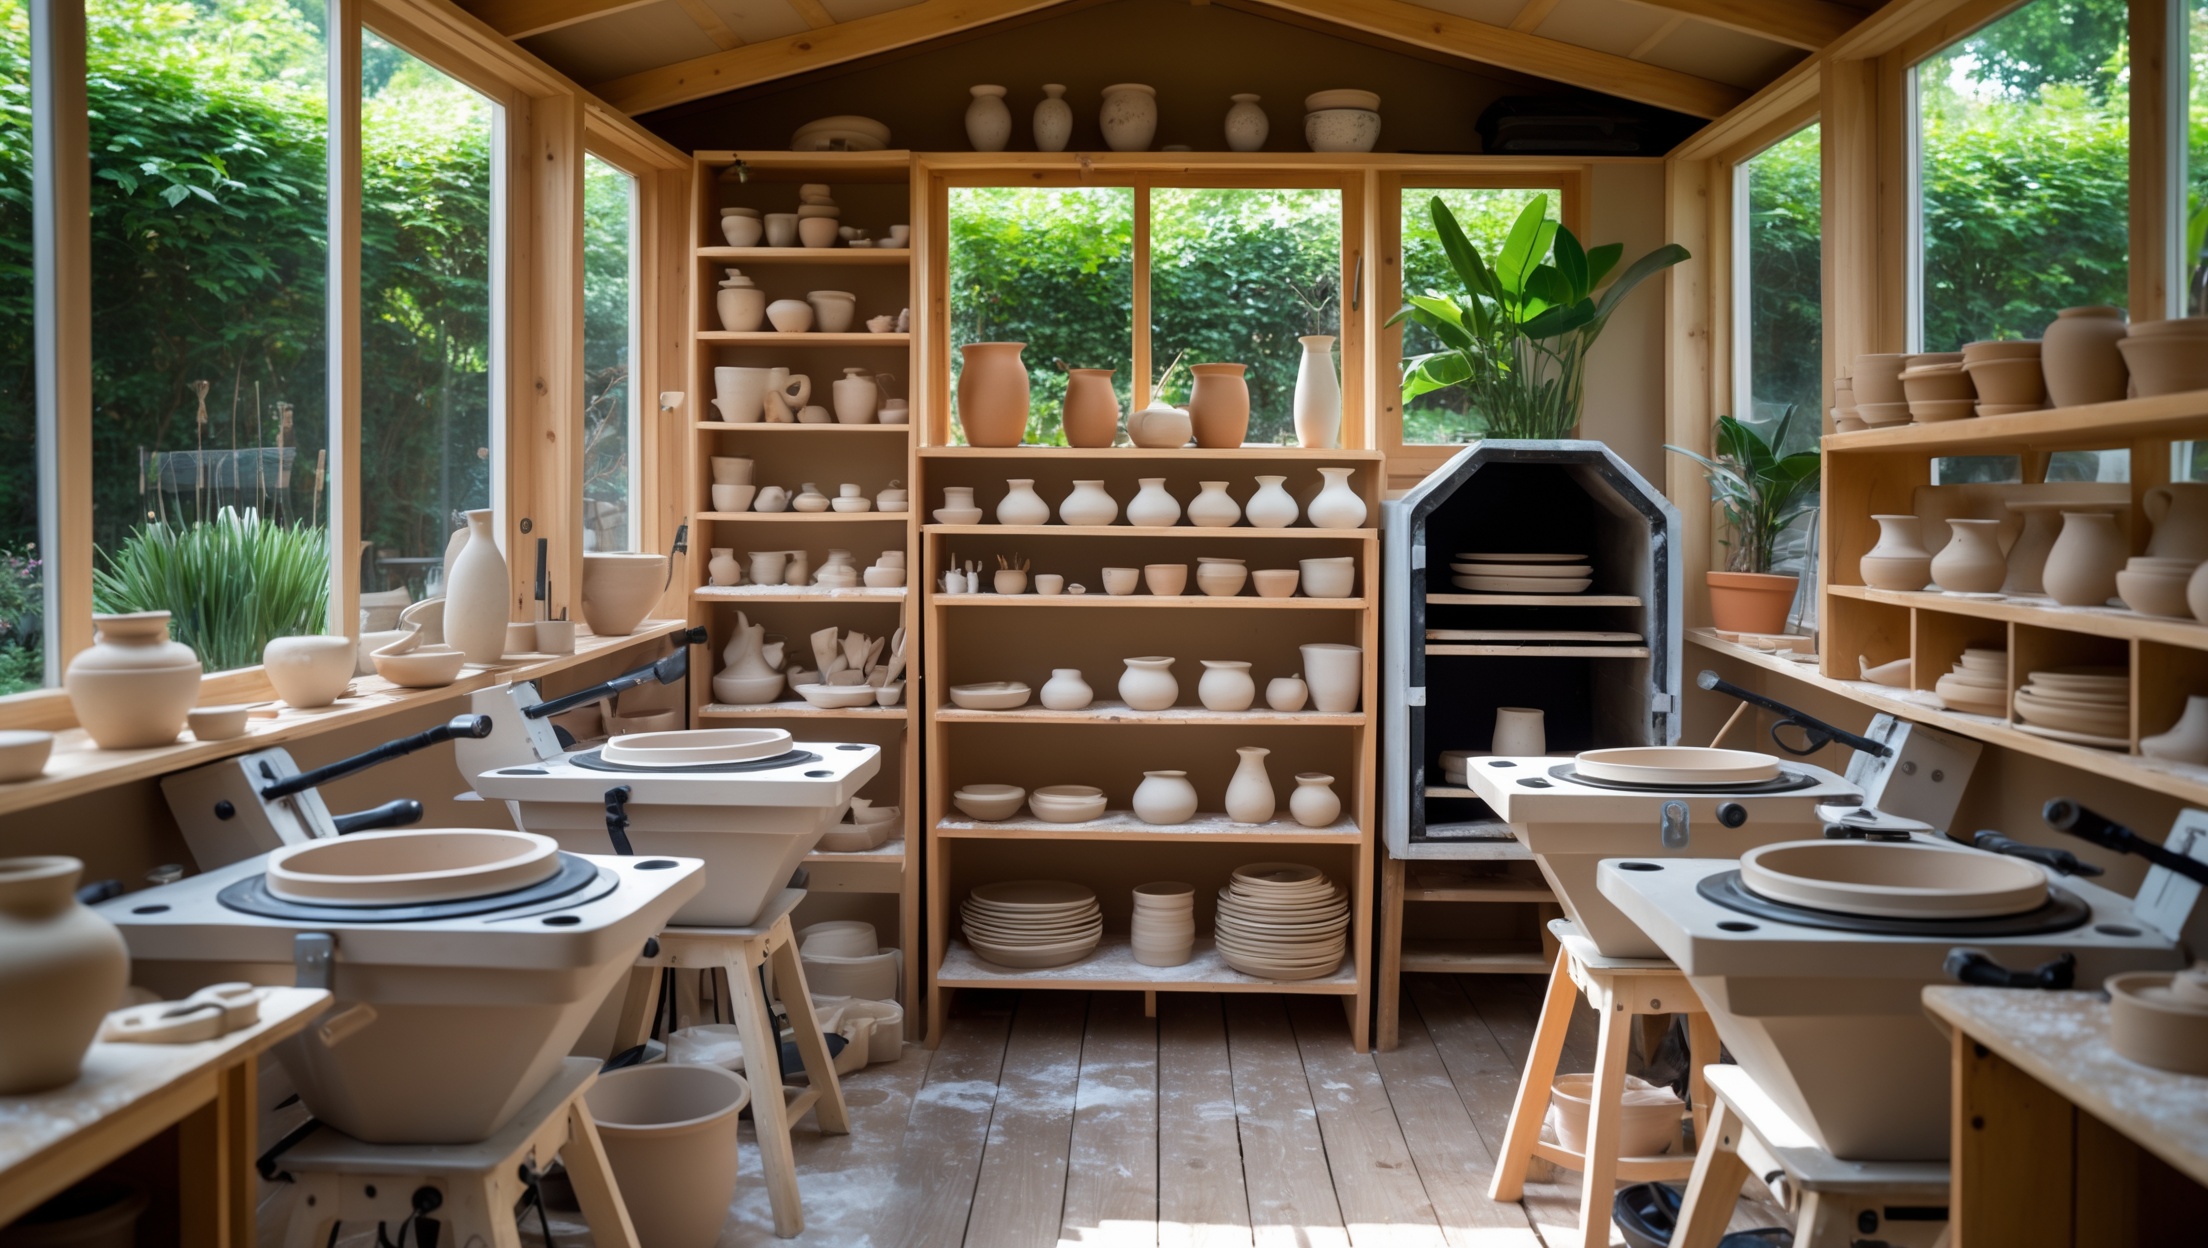
Introduction: From Garden Shed to Creative Haven
For many creative individuals, the dream of having a personal studio space seems out of reach due to cost, space limitations, or zoning headaches. Yet, with a little ingenuity, you can transform a humble backyard shed into a fully functional pottery studio — and enjoy the freedom of making art steps from your back door. In this detailed case study, we’ll walk you through every facet of converting a standard garden shed into a thriving home pottery space. We’ll explore planning, budgeting, the build process, equipment choices, insulation and ventilation, organization, and ongoing maintenance. Along the way, we’ll share the real-world challenges faced by a homeowner named Laura, and how she overcame them to create her dream studio. Whether you’re a hobbyist or aspiring professional, this guide will help you navigate each decision, avoid costly mistakes, and ensure your home pottery studio is safe, efficient, and inspiring.
Case Study Overview: Meet Laura and Her Shed
Laura, a lifelong pottery enthusiast, had been working at the kitchen table for years. Frustrated by the mess, lack of space, and the logistical nightmare of firing pottery at a distant community center, she decided to convert her old 10×14-foot backyard shed. Her goals were clear: create a climate-controlled studio for hand-building and wheel-throwing, with room for a small kiln, ample storage, and a peaceful ambiance. Her budget was $7,500, and she wanted to do as much of the work as possible herself.
Planning & Design: Mapping Out the Perfect Studio
Assessing the Space
Laura began by thoroughly measuring her shed and sketching a floor plan. She noted the existing windows, door placement, and the condition of the structure. Her shed had a sound frame and a concrete slab foundation — ideal for supporting heavy equipment like a pottery wheel and kiln.
- Tip: Ensure your shed’s structure and floor can support the weight of pottery equipment, especially kilns and work tables.
- Consider: Access to electricity, water, and ventilation for safety and convenience.
Must-Have Zones
She divided the space into functional zones:
- Wheel-throwing area
- Hand-building/work table
- Kiln corner (with safety clearances)
- Clay and glaze storage
- Shelving for drying and finished pieces
- Utility sink (optional, see below)
Permits and Zoning
Laura checked with her local planning office. In her city, a shed under 200 sq ft used for personal art projects didn’t require a permit, but electrical upgrades and kiln installation did. She submitted a simple site plan and paid a $175 permit fee for the electrical work.
- Tip: Always consult your city/county for permit requirements, especially regarding electrical work and kilns.
Budget Breakdown: Where the Money Goes
Laura’s $7,500 budget covered materials, basic tools, electrical upgrades, insulation, ventilation, and essential pottery equipment. Here’s where her money went:
- Electrical upgrades: $1,800 (new subpanel, outlets, kiln circuit)
- Insulation & wall finishing: $1,200 (fiberglass batts, vapor barrier, drywall, paint)
- Ventilation system: $400 (inline fan, ducting for kiln fumes)
- Flooring: $250 (sealed concrete)
- Lighting: $275 (LED shop lights, task lamps)
- Pottery wheel: $950 (new, mid-range model)
- Kiln: $1,600 (small electric kiln, used but recently serviced)
- Work table and shelving: $400 (DIY workbench, adjustable metal shelves)
- Tools and materials: $625 (clay, starter glazes, basic pottery tools)
- Miscellaneous: $400 (permits, fire extinguisher, weather stripping, storage bins)
She saved money by purchasing a used kiln and building her own workbench from recycled materials.
Step-by-Step Transformation Process
1. Clearing and Preparing the Shed
Laura emptied the shed, removed old shelving, and cleaned the concrete floor. She patched minor leaks in the roof and sealed any gaps in the walls to keep out pests and moisture.
- Inspect for mold or rot and repair before building.
- Check for adequate ceiling height (especially for standing at a wheel or workbench).
2. Electrical Installation
She hired a licensed electrician to run a 60-amp subpanel from her house to the shed. Dedicated 240V outlet was installed for the kiln, plus multiple GFCI-protected outlets around the perimeter and bright, energy-efficient LED lights overhead. Laura also added a hardwired smoke/CO detector for safety.
- Safety Note: Never DIY major electrical work for kilns — always use a licensed professional.
3. Insulation and Wall Finishing
With basic framing in good shape, Laura installed fiberglass batts and a vapor barrier. She covered the walls with drywall and painted them white to maximize light reflection. This made the studio comfortable year-round and kept utility bills manageable.
4. Ventilation and Kiln Setup
Proper ventilation is essential when using glazes and firing pottery. Laura installed an inline exhaust fan with ductwork to vent kiln fumes directly outside, ensuring fresh air circulation. Her kiln sat on a heat-resistant mat, with three feet of clearance on all sides as recommended by the manufacturer.
- Windows were fitted with screens to allow safe airflow during hand-building and glazing sessions.
- She installed a fire extinguisher within easy reach.
5. Flooring and Weatherproofing
The shed’s concrete floor was scrubbed, dried, and sealed with a slip-resistant epoxy. Laura added thick rubber mats in work zones for comfort and to protect dropped pieces.
6. Workstations and Storage
Laura built a sturdy work table from reclaimed wood and installed metal shelving for clay, glazes, and tools. She used labeled bins for organizing hand tools, sponges, and brushes. Pegboards above the wheel and work table kept frequently used items at eye level.
7. Lighting and Ambiance
Bright LED shop lights provided general illumination, while adjustable task lamps were placed over the wheel and work table. Laura hung a few favorite pots and plants near the windows to create a relaxing, inspiring atmosphere.
8. Optional: Water Access
Running a sink to a shed can be costly. Laura used a portable hand-wash station and a 5-gallon bucket system for clay cleanup, emptying it into the garden (never down the drain, to avoid plumbing clogs).
Essential Pottery Equipment and Tools for Small Studios
- Pottery Wheel: Choose a sturdy, reliable model sized for your space. Electric wheels are quieter and take up less room than traditional kick wheels.
- Kiln: Small electric kilns are ideal for backyard studios. Consider a used or refurbished model to save money, but ensure it’s been professionally inspected.
- Work Table: A durable, washable surface is essential for hand-building and glazing.
- Shelving: Adjustable metal units maximize vertical storage for drying and finished wares.
- Clay and Glaze Storage: Airtight bins keep materials fresh and dust-free. Store glazes on lower shelves to minimize spill risks.
- Hand Tools: Basic sets (ribs, sponges, wire cutters, trimming tools) are inexpensive and compact.
- Safety Gear: Wear a dust mask when mixing glazes or cleaning dry clay. Nitrile gloves protect skin from harsh chemicals.
Maintenance Best Practices for a Home Pottery Studio
Cleaning and Dust Control
Regular cleaning is crucial. Laura sweeps and mops after every session, wipes down surfaces, and uses a shop vacuum with a HEPA filter to capture fine clay dust. Keeping dust under control is essential for respiratory health and kiln longevity.
Kiln Maintenance
- Inspect kiln elements and thermocouples regularly for wear.
- Vacuum kiln interior after each firing (once cool) to remove debris.
- Keep a kiln log to monitor firing cycles, temperatures, and maintenance needs.
- Have your kiln professionally serviced annually.
Tool and Material Care
- Rinse tools after each use and dry thoroughly to prevent rust.
- Store glazes in tightly sealed containers and check expiration dates.
- Rotate clay stock to use older batches first.
Climate Control
Insulation keeps the studio comfortable, but Laura also uses a compact electric heater in winter and a window fan in summer. A small dehumidifier helps maintain safe humidity levels for both clay and equipment.
Safety Essentials for Pottery Sheds
- Install a smoke and carbon monoxide detector.
- Keep a multi-class fire extinguisher near the kiln.
- Never leave the kiln running unattended.
- Wear a dust mask and gloves when mixing chemicals or handling dry clay.
- Ensure all electrical work is up to code and inspected.
- Vent kiln fumes directly outside.
- Keep exits clear in case of emergency.
Lessons Learned: Laura’s Real-World Insights
- Expect the unexpected: Laura discovered a small leak after a major rainstorm, leading to a roof patch and better weatherproofing.
- Prioritize comfort: Good lighting and climate control made long studio sessions enjoyable.
- Start simple, expand later: Laura added advanced tools (like a slab roller) only after using the space for several months.
- Safety over speed: She waited for permits and inspections, which delayed the kiln installation but provided peace of mind.
Conclusion: Creating Your Own Backyard Pottery Retreat
Converting a backyard shed into a fully functional pottery studio is both challenging and deeply rewarding. Laura’s journey highlights the importance of careful planning, budgeting, and respect for safety codes. By focusing on essential equipment, effective layout, and robust maintenance habits, you can create a space that nurtures creativity for years to come. While the initial investment may seem significant, the long-term benefits — convenience, inspiration, and the ability to work on your own schedule — are invaluable. If you’re considering a similar transformation, start by assessing your needs, researching local regulations, and setting a realistic budget. Remember to pace yourself, seek professional help for electrical or kiln installation, and don’t overlook the small details that make a studio truly yours. With patience and vision, your backyard can become a sanctuary for creative growth and artistic fulfillment.
Whether you’re a pottery beginner dreaming of your first wheel or a seasoned artist seeking solitude, the story of Laura’s shed-turned-studio proves that with determination and smart planning, you can carve out space for creativity right at home. So roll up your sleeves, grab your sketchpad, and start imagining what your own backyard pottery haven could look like — your new favorite place to create is closer than you think.
Laura had a $7,500 budget for the whole transformation. Was that enough to cover both the main construction work and getting basic pottery equipment, or were there any unexpected costs she ran into?
Laura’s $7,500 budget was enough to cover both the shed renovation and the purchase of essential pottery equipment. However, the article mentions she encountered a few unexpected expenses, such as additional insulation and an upgraded electrical panel. She managed to stay close to her original budget by prioritizing key items and doing some of the work herself.
How did Laura handle ventilation and insulation in her pottery shed, especially with using a kiln in a relatively small space? Were there any unexpected challenges with keeping the studio comfortable year-round?
Laura prioritized safety and comfort by installing a dedicated venting system for her kiln, ensuring fumes and heat were properly expelled. For insulation, she used high-quality panels to regulate temperature, which helped in both summer and winter. Unexpectedly, she found moisture control more challenging than anticipated, so she added a dehumidifier and weather stripping to maintain a comfortable environment year-round.
For someone starting with a similar shed size, how long did the entire renovation process take Laura from planning to completion, and were there any steps that took longer than expected?
Laura’s renovation took about three months from planning to completion. The insulation and electrical work took longer than expected due to unforeseen wiring issues. Planning ahead for these steps and allowing extra time for specialty work can help your project stay on track.
Can you share how Laura handled running electricity to her shed for the kiln and other equipment? I’m not sure if hiring an electrician is necessary for something like this or if it’s possible to DIY safely.
Laura hired a licensed electrician to install the wiring for her kiln and pottery equipment. This was important because kilns require a dedicated circuit and specific voltage, which can be tricky and potentially unsafe to do yourself without professional experience. For most home studios, especially where high-powered equipment is involved, hiring an electrician is recommended to ensure everything meets safety codes.