
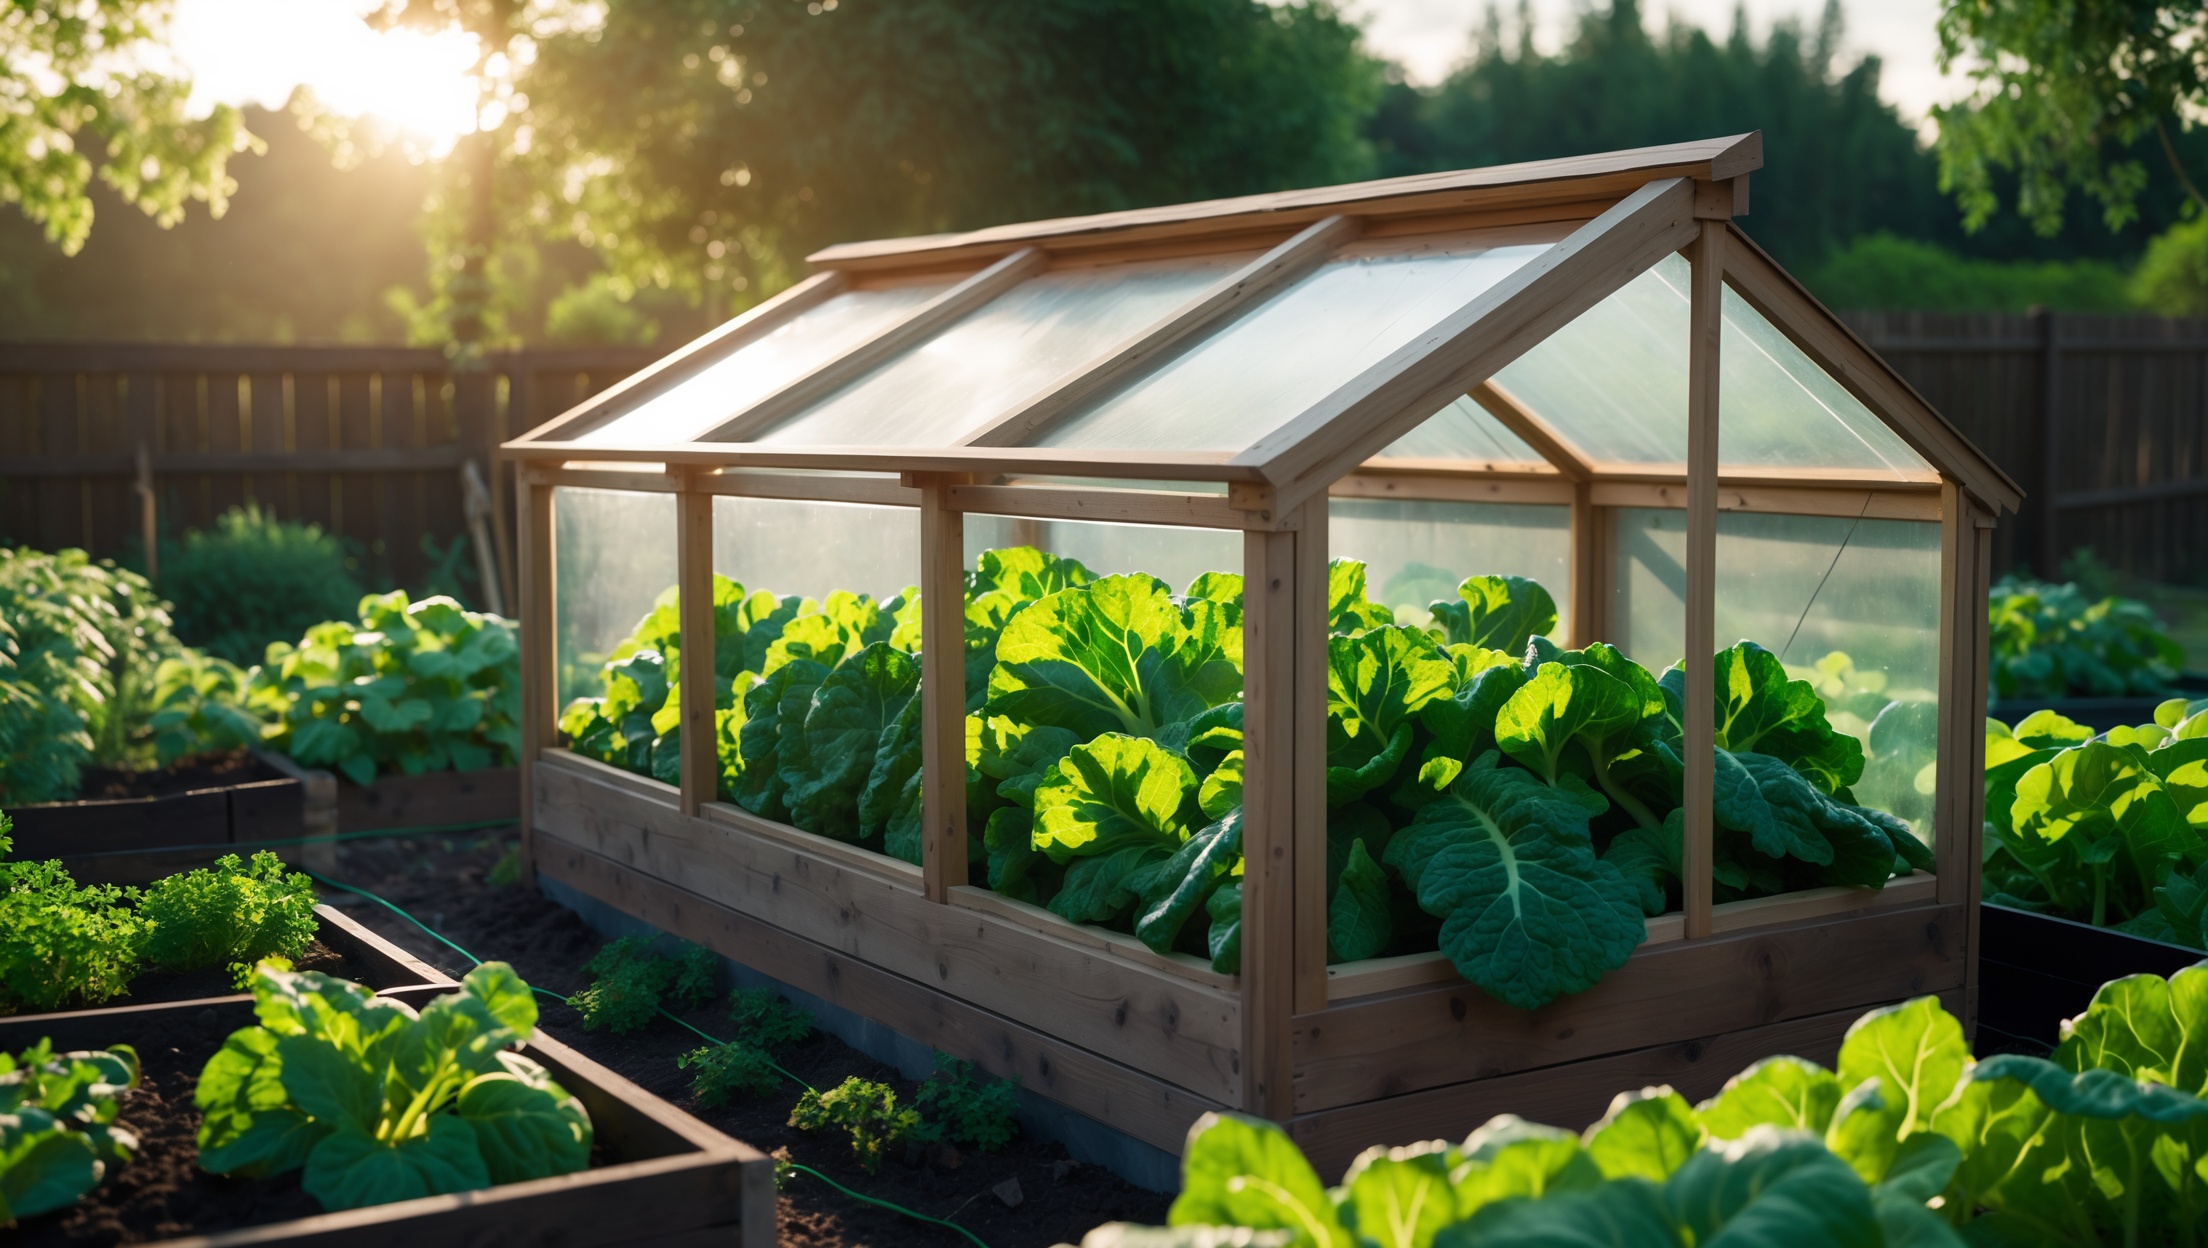
Introduction: The Year-Round Fresh Greens Dream
Imagine harvesting crisp lettuce, spicy arugula, or sweet spinach from your garden in the dead of winter. For many home gardeners, a backyard cold frame makes this dream a reality. Cold frames are practical, low-tech mini-greenhouses that extend your growing season by weeks or even months. But before you grab your tools, understanding the true costs and smart budgeting strategies for building a backyard cold frame is essential. Unlike expensive greenhouses, cold frames offer a cost-effective solution, but expenses can add up if you don’t plan carefully. This guide dives deep into the real-world cost breakdowns—materials, tools, recurring expenses—and provides actionable budgeting tips, so you can enjoy fresh produce without overspending. Whether you’re a DIY enthusiast or a gardening newbie, this comprehensive resource helps you make informed financial decisions every step of the way.
What Is a Cold Frame and Why Build One?
A cold frame is a bottomless box with a transparent lid, placed over garden beds or containers to trap heat and protect plants from cold weather. They rely on passive solar energy—sunlight warms the soil and air inside, creating a microclimate several degrees warmer than outside. Cold frames are perfect for hardening seedlings, extending the harvest of cool-weather crops, and even overwintering tender plants.
- Extended harvest: Enjoy fresh greens and herbs long after frost kills outdoor crops.
- Seed starting: Germinate seeds earlier in spring without indoor grow lights.
- Low-maintenance: No electricity or complicated systems required.
- Budget-friendly: Far less expensive than full-size greenhouses.
Major Cost Categories for Building a Cold Frame
Let’s break down the main expenses you’ll encounter. Your total budget will depend on your cold frame’s size, materials, and whether you build from scratch or buy a kit.
1. Materials
- Frame: Wood (cedar, pine, or reclaimed lumber), bricks, or concrete blocks.
- Lid: Clear acrylic, polycarbonate, old windows, or greenhouse plastic.
- Fasteners & Hardware: Hinges, handles, weather stripping, screws, and brackets.
- Optional Extras: Automatic vent openers, insulation (foam board or straw bales), and paint or sealant for longevity.
2. Tools & Supplies
- Hand saw or circular saw
- Drill and drill bits
- Measuring tape, carpenter’s square, pencil
- Paintbrush (if sealing/painting wood)
- Safety gear (goggles, gloves)
Many tools can be borrowed or rented to save costs if you don’t already own them.
3. Site Preparation
- Leveling ground: May require topsoil, sand, or gravel.
- Weed barrier: Landscape fabric or cardboard.
4. Recurring and Seasonal Costs
- Replacement glazing: Every few years, depending on material quality.
- Insulation refresh: Replacing straw bales or foam as needed.
- Seeds and soil amendments: For ongoing planting cycles.
Detailed Cost Breakdown: DIY vs. Kit
Let’s compare two common approaches: building from scratch or buying a cold frame kit.
DIY Cold Frame (4ft x 2ft)
- Wood (cedar): $50–$80
- Glazing (polycarbonate sheet): $30–$50
- Hinges and handles: $10
- Screws, weather stripping, sealant: $10–$15
- Optional vent opener: $25–$40
- Total: $100–$195 (plus any tool rental if needed)
Cold Frame Kit (Similar Size)
- Basic plastic kit: $60–$100
- Premium wood/polycarbonate kit: $150–$300
- Assembly tools: Usually minimal (screwdriver or wrench)
- Total: $60–$300
Kits offer convenience and time saving, but DIY gives you better control over quality and custom sizing.
Other Potential Costs
- Delivery fees: For kits or large material orders: $10–$50
- Custom features: Automatic vent openers, extra insulation, or decorative touches can add $20–$100+
Budgeting Tips to Save Money Without Compromising Quality
Smart budgeting doesn’t mean cutting corners on durability or plant health. Here’s how to stretch your dollars:
1. Source Materials Creatively
- Reclaimed wood: Salvage old fence boards, pallets (untreated), or decking.
- Upcycled windows: Old double-pane windows make excellent cold frame lids.
- Check local classifieds: Free or cheap materials often show up online or at community reuse centers.
- Buy in bulk: Team up with neighbors to purchase larger quantities at a discount.
2. Prioritize Durability in Key Areas
- Use rot-resistant wood (cedar, redwood) for ground contact.
- Invest in UV-resistant glazing, such as polycarbonate, for longer lifespan.
- Seal wood thoroughly to prevent moisture damage.
3. Rent or Borrow Tools
- Ask friends or neighbors before buying expensive tools for a single project.
- Many hardware stores offer affordable tool rental by the hour or day.
4. Plan for Expansion
- Design modular frames so you can add sections later without rebuilding.
- Consider future planting needs to avoid costly redesigns.
Sample Budget Worksheet
Use this template to estimate your cold frame project:
- Materials: ___________________
- Glazing: ___________________
- Hardware: ___________________
- Tools (purchase/rental): ___________________
- Site prep (soil, weed barrier): ___________________
- Optional features: ___________________
- Total estimated cost: ___________________
Don’t forget to add a 10–15% contingency for unexpected expenses.
Where to Splurge and Where to Save
Not every element of your cold frame requires top-of-the-line materials. Here’s where to allocate your budget for maximum benefit:
- SPLURGE: Glazing (clear, UV-stable materials), rot-resistant wood for the frame, and quality hinges or vent openers.
- SAVE: Basic hardware (as long as it’s weather-resistant), interior insulation (straw, leaves), and decorative finishes.
Long-Term Value: Calculating ROI for Your Cold Frame
Cold frames are an investment in fresh food and gardening enjoyment. Here’s how to estimate their long-term value:
- Annual produce savings: Calculate the cost of store-bought greens and herbs you’ll replace.
- Extended planting windows: Start seedlings earlier and grow later into fall, increasing your yield per square foot.
- Reduced food waste: Harvest as needed, minimizing spoilage.
- Educational value: Great for families and curious gardeners to learn about season extension and microclimates.
Most gardeners recoup their investment within one to three years, depending on usage and local produce prices.
Hidden Costs and How to Avoid Them
Budgeting isn’t just about upfront expenses. Watch out for these sneaky costs:
- Poor quality materials: Cheap wood or plastic may rot or crack quickly, requiring costly replacements.
- Improper site selection: Placing your cold frame in shade or low-lying, wet areas can reduce productivity and cause rot.
- Lack of ventilation: Overheating on sunny days can kill plants and warp materials—invest in a vent or prop stick.
- Neglecting maintenance: Failing to reseal wood or replace cracked glazing leads to expensive repairs down the line.
Plan for seasonal inspections, and keep a small reserve fund for minor repairs or upgrades.
Maximizing Cold Frame Efficiency on a Budget
Get more out of your investment with these practical strategies:
- Strategic placement: South-facing, wind-sheltered spots maximize sunlight and warmth.
- Insulate in winter: Add straw bales or old blankets around the frame during cold snaps.
- Double up: Place a row cover or old shower curtain inside for extra frost protection.
- Succession planting: Replant every few weeks for continuous harvests.
- Use as a propagation box: Start perennials or hard-to-germinate seeds off-season.
Case Example: The $110 DIY Cold Frame That Paid for Itself
Jane, a suburban gardener, built her cold frame using reclaimed cedar and an old double-pane window from a local salvage yard. Her total outlay was just $110, including hinges, screws, and a vent prop. In her first season, she harvested $85 worth of salad greens, herbs, and spinach—produce that would have cost far more at the store, especially in winter. After two years, her cold frame was still going strong, and she estimates her savings at over $300. Her advice: prioritize durability, and don’t be afraid to scavenge for materials.
Conclusion: Smart Budgeting for Year-Round Harvests
Building a backyard cold frame doesn’t have to be expensive or complicated. With careful planning, creative sourcing, and a focus on long-term durability, you can extend your growing season and enjoy fresh, homegrown produce throughout the year—without straining your budget. Start with a clear understanding of the major cost categories: materials, tools, site preparation, and potential extras. Decide where to invest in quality, such as rot-resistant wood and UV-stable glazing, and where you can economize, like upcycled materials and borrowed tools. Use this detailed cost breakdown to map out your expenses, track spending, and avoid hidden pitfalls. Remember, every dollar spent on a thoughtfully built cold frame is an investment in self-sufficiency, better nutrition, and the simple joy of gardening, even when the snow flies. Whether you’re a first-time builder or a seasoned gardener, smart budgeting ensures your cold frame delivers fresh rewards for seasons to come.