
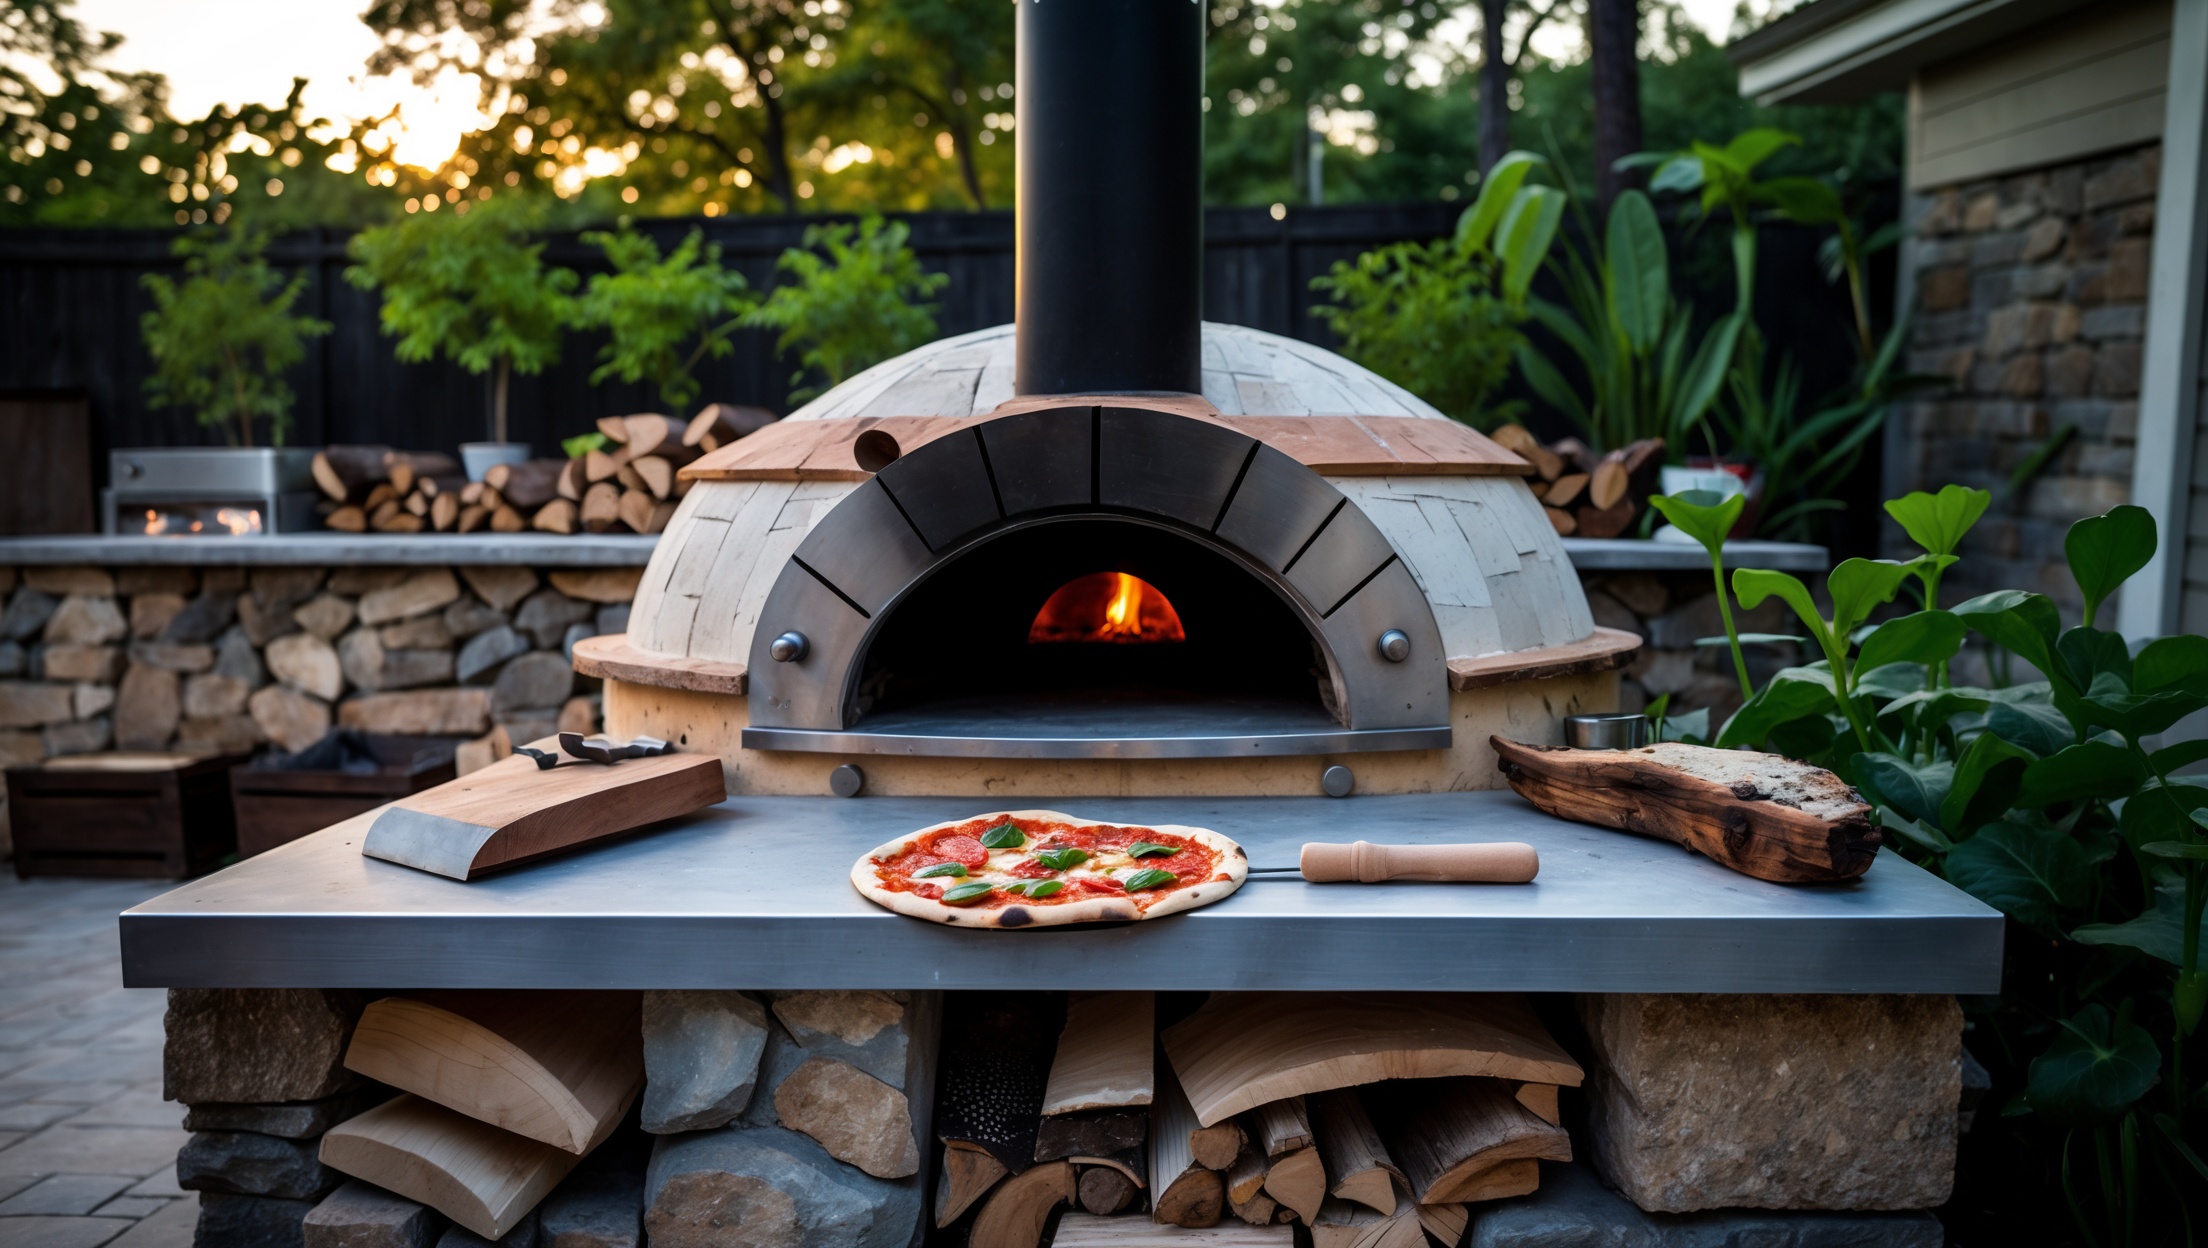
Introduction: The Secret to Lasting Outdoor Pizza Oven Enjoyment
Few backyard upgrades bring as much joy, flavor, or community spirit as a DIY outdoor pizza oven. Whether you love crisp Neapolitan crusts, smoky artisan breads, or the simple pleasure of gathering friends under the open sky, your oven is the heart of memorable outdoor feasts. But like all hardworking backyard features, pizza ovens demand more than just fire and flour—they thrive on attentive care. Proper maintenance isn’t just about keeping your oven looking good; it’s essential for safety, efficiency, and the longevity of your investment. From battling weather to managing wood ash, the unique challenges faced by DIY pizza ovens call for targeted routines and insider know-how.
This comprehensive guide dives deep into the best maintenance practices for DIY outdoor pizza ovens. You’ll learn how to clean, inspect, and protect your oven through all seasons, troubleshoot common issues, and avoid the most frequent pitfalls. Whether you built your oven from brick, clay, or refractory concrete, these expert-backed strategies will help you maximize performance, extend lifespan, and ensure every pizza night is as delicious as the last. Let’s fire up some smart care routines and keep your backyard pizza paradise running hot for years to come.
Understanding Your Oven: Materials and Maintenance Needs
Brick Ovens
Brick is the classic choice for DIY pizza ovens, prized for its heat retention and rustic charm. However, brick is porous and susceptible to weathering, stains, and cracks if not cared for intentionally.
- Key maintenance needs: Sealing, crack inspection, soot removal, and weather protection.
- Watch for: Efflorescence (white salt deposits), crumbling mortar, and moisture absorption.
Clay Ovens (Cob)
Clay or cob ovens evoke old-world craftsmanship and offer impressive insulation. They are, however, especially vulnerable to moisture and require consistent surface checks.
- Key maintenance needs: Annual re-plastering, rapid surface drying after rain, and careful crack monitoring.
- Watch for: Surface flaking, shrinkage cracks, and mold growth.
Refractory Concrete Ovens
Modern and durable, these ovens are built to withstand high temperatures and weather extremes. Still, thermal cycling and expansion can cause cracks over time.
- Key maintenance needs: Annual inspections, cleaning, and occasional patching of hairline cracks.
- Watch for: Spalling (surface chipping), smoke stains, and insulation degradation.
Cleaning Routines for Optimal Performance
After Every Use
- Remove Ash and Embers: Let the oven cool completely. Use a metal ash shovel and brush to clear out all residual ash and embers. Ash left in the oven can absorb moisture and attract pests.
- Wipe Down the Hearth: Use a damp (not wet) cloth to gently wipe the cooking surface, removing any stuck-on bits of dough or toppings. Avoid harsh detergents—they can linger and affect flavor.
Monthly Deep Clean
- Clean the Dome: With a soft-bristled brush, sweep away soot and creosote buildup from the dome interior. For stubborn spots, use a dry, stiff brush—never water, which can damage masonry.
- Inspect the Flue: Check for blockages or buildup in the chimney. Remove any debris that could impede airflow or cause smoke to back up.
Annual Cleaning Ritual
- Full Surface Inspection: Examine all surfaces for cracks, chips, or loose material. Schedule repairs before the next cooking season.
- Seal or Re-plaster: Depending on your oven type, reseal brick or concrete with a food-safe sealant or re-plaster clay ovens to maintain weather resistance.
Protecting Your Oven from Weather
Rain and Moisture Management
Water is the enemy of heat retention and structural integrity. Whether you live in a rainy climate or face seasonal storms, proactive moisture management is critical.
- Install a Roof or Shelter: A simple pergola, open-sided roof, or dedicated oven shelter can dramatically extend oven life by keeping rain and snow off vulnerable surfaces.
- Use a Waterproof Cover: Invest in a well-fitted, breathable cover for off-season protection. Never wrap your oven in plastic; trapped moisture can cause damage.
- Check Drainage: Ensure the oven base is elevated and water drains away from the foundation. Pooled water under the oven can wick up through masonry or clay.
Freeze-Thaw Cycles
In cold climates, trapped moisture expands as it freezes, causing cracks and surface spalling. Prevent this with the following steps:
- Dry Out Completely: Before winter, stop using the oven for several days to let it dry thoroughly. Consider running a low fire to drive out residual moisture.
- Seal Exposed Surfaces: Apply a breathable, food-safe masonry sealant each fall for brick and concrete ovens. Clay ovens may need a fresh layer of lime plaster or clay slip.
- Keep the Flue Capped: Use a chimney cap to prevent rain and snow from entering the oven chimney when not in use.
Fire Management: Preserving the Hearth and Dome
Seasoning Your Oven
New or freshly repaired ovens require a gradual seasoning process to drive off moisture and prevent cracking:
- Start with a small, low fire, increasing the size gradually over a week.
- Never heat a cold or wet oven rapidly; sudden temperature spikes can cause irreparable cracks.
Wood Selection and Storage
The type of wood you burn affects oven cleanliness and longevity:
- Use Only Seasoned Hardwoods: Oak, ash, and maple burn hot and clean, leaving minimal residue. Avoid softwoods and resinous woods that cause excessive soot.
- Store Wood Properly: Keep wood off the ground and covered, but well-ventilated to prevent mold and moisture absorption.
Avoiding Overfiring
Extremely high temperatures can damage the oven dome and hearth. Use an infrared thermometer to monitor temperatures and keep fires within recommended limits for your oven type (typically 800–900°F/425–480°C for pizza).
Routine Inspections: Catching Issues Early
What to Check
- Cracks: Hairline cracks are common and usually harmless, but monitor for widening or shifting, which could signal structural issues.
- Mortar Joints: Look for loose or missing mortar, especially around the oven opening and chimney. Repoint as needed.
- Chimney/Flue: Ensure there are no bird nests, blockages, or corrosion in metal components.
- Insulation: Check for signs of water ingress or settling in loose-fill insulation (e.g., vermiculite) around the dome.
How to Document
Keep a maintenance log. Record cracks, repairs, cleanings, and weather events. Photos can help track changes over time and guide future maintenance decisions.
Repair Techniques for Common Problems
Crack Repair
- Brick and Concrete Ovens: Fill minor cracks with refractory mortar or high-heat silicone. For larger cracks, chisel out damaged material and re-mortar.
- Clay Ovens: Mix a patch of clay, sand, and straw. Moisten the area, apply the patch, and smooth gently. Allow to air dry before firing.
Repointing Mortar Joints
Use a pointing trowel to remove crumbling mortar and replace with fresh refractory mortar. Cure as per manufacturer’s instructions before resuming high-heat use.
Surface Spalling or Efflorescence
- Spalling: Scrape away loose material, clean with a dry brush, and patch with matching refractory material.
- Efflorescence: Brush away salt deposits with a stiff brush. Persistent issues may indicate moisture problems—improve drainage and reseal surfaces as needed.
Safety Considerations
Fire Safety
- Always keep a fire extinguisher and a bucket of sand nearby.
- Never leave a burning oven unattended.
- Maintain a safe, clear zone around the oven—no overhanging branches or flammable materials.
Chimney and Smoke Management
- Regularly clear the flue of soot and debris to prevent chimney fires.
- Ensure good airflow to minimize smoke backdrafts into cooking areas.
Food Safety
- Clean the cooking surface before each use to avoid contamination.
- Never use chemical cleaners or non-food-safe sealants on interior surfaces.
Seasonal Maintenance Checklist
Spring
- Inspect for winter damage: cracks, moisture intrusion, and mortar loss.
- Deep clean interior and exterior surfaces.
- Restock and dry firewood supplies.
Summer
- Monitor for overfiring in hot weather.
- Check for insect or animal nests in and around the oven.
Autumn
- Seal surfaces before the rainy season.
- Clear base and surroundings of fallen leaves and debris.
Winter
- Limit use during freeze-thaw cycles unless oven is fully dry and insulated.
- Keep covered and flue capped when not in use.
Long-Term Storage and Off-Season Care
- Clean and dry thoroughly before covering for extended periods.
- Store all tools, peels, and brushes indoors to prevent rust and weathering.
- Schedule major repairs or renovations in the off-season for uninterrupted pizza nights in peak months.
Conclusion: Invest in Your Oven, Invest in Memories
Your DIY outdoor pizza oven is more than a backyard appliance—it’s a centerpiece of family gatherings, culinary adventures, and warm summer nights. Consistent maintenance is the key to preserving this special place, ensuring every pizza party is safe, flavorful, and hassle-free. By adopting the routines outlined here—regular cleaning, seasonal inspections, prompt repairs, and weatherproofing—you’re not just extending the lifespan of bricks and mortar; you’re investing in years of good times and great food. Remember, most oven issues start small and are easily managed with attention and care. Keep a maintenance log, trust your senses, and don’t hesitate to seek expert help for structural concerns. With just a bit of regular effort, your backyard pizza oven will deliver perfect crusts and cherished memories for generations. Fire it up, keep it clean, and savor every slice!
For someone living in a region with harsh winters, how often should I inspect and reseal a clay or cob oven to prevent damage from freezing and thawing cycles?
In regions with harsh winters, it’s best to inspect your clay or cob oven at least twice a year—once before winter and once after. Reseal the oven each fall to help protect against moisture penetration and freeze-thaw damage. If you notice any cracks or wear after winter, reseal as needed in the spring too.
The article mentions efflorescence and crumbling mortar with brick ovens. If I see white deposits or small cracks, is there a simple way to fix these myself, or should I call a professional right away?
If you notice white deposits (efflorescence) on your brick oven, you can usually clean them off yourself with a dry brush or a mixture of water and vinegar. For small cracks in the mortar, you can use heat-resistant mortar to patch them up, ensuring the oven is completely cool and dry first. However, if the cracks are deep or extensive, or if mortar is crumbling significantly, it’s best to consult a professional for a thorough repair.
For brick pizza ovens, how often should I reseal the surface to protect it from weather damage, and is there a specific kind of sealant you recommend for longevity?
For brick pizza ovens, resealing every 1 to 2 years is usually enough, but check more often if your oven faces harsh weather. Use a breathable, high-temperature masonry sealant specifically designed for outdoor use. This helps prevent moisture from getting trapped while protecting the bricks from rain and freeze-thaw cycles.
If I live in an area with harsh winters, are there different maintenance routines for clay versus brick pizza ovens to prevent weather damage? Which material tends to last longer with regular care?
Clay pizza ovens are more vulnerable to freeze-thaw cycles and can crack if moisture gets inside, so it’s essential to fully dry and cover them before winter. Brick ovens are tougher but still benefit from a cover and routine checks for cracks. With regular maintenance, brick ovens typically last longer in harsh winters.