
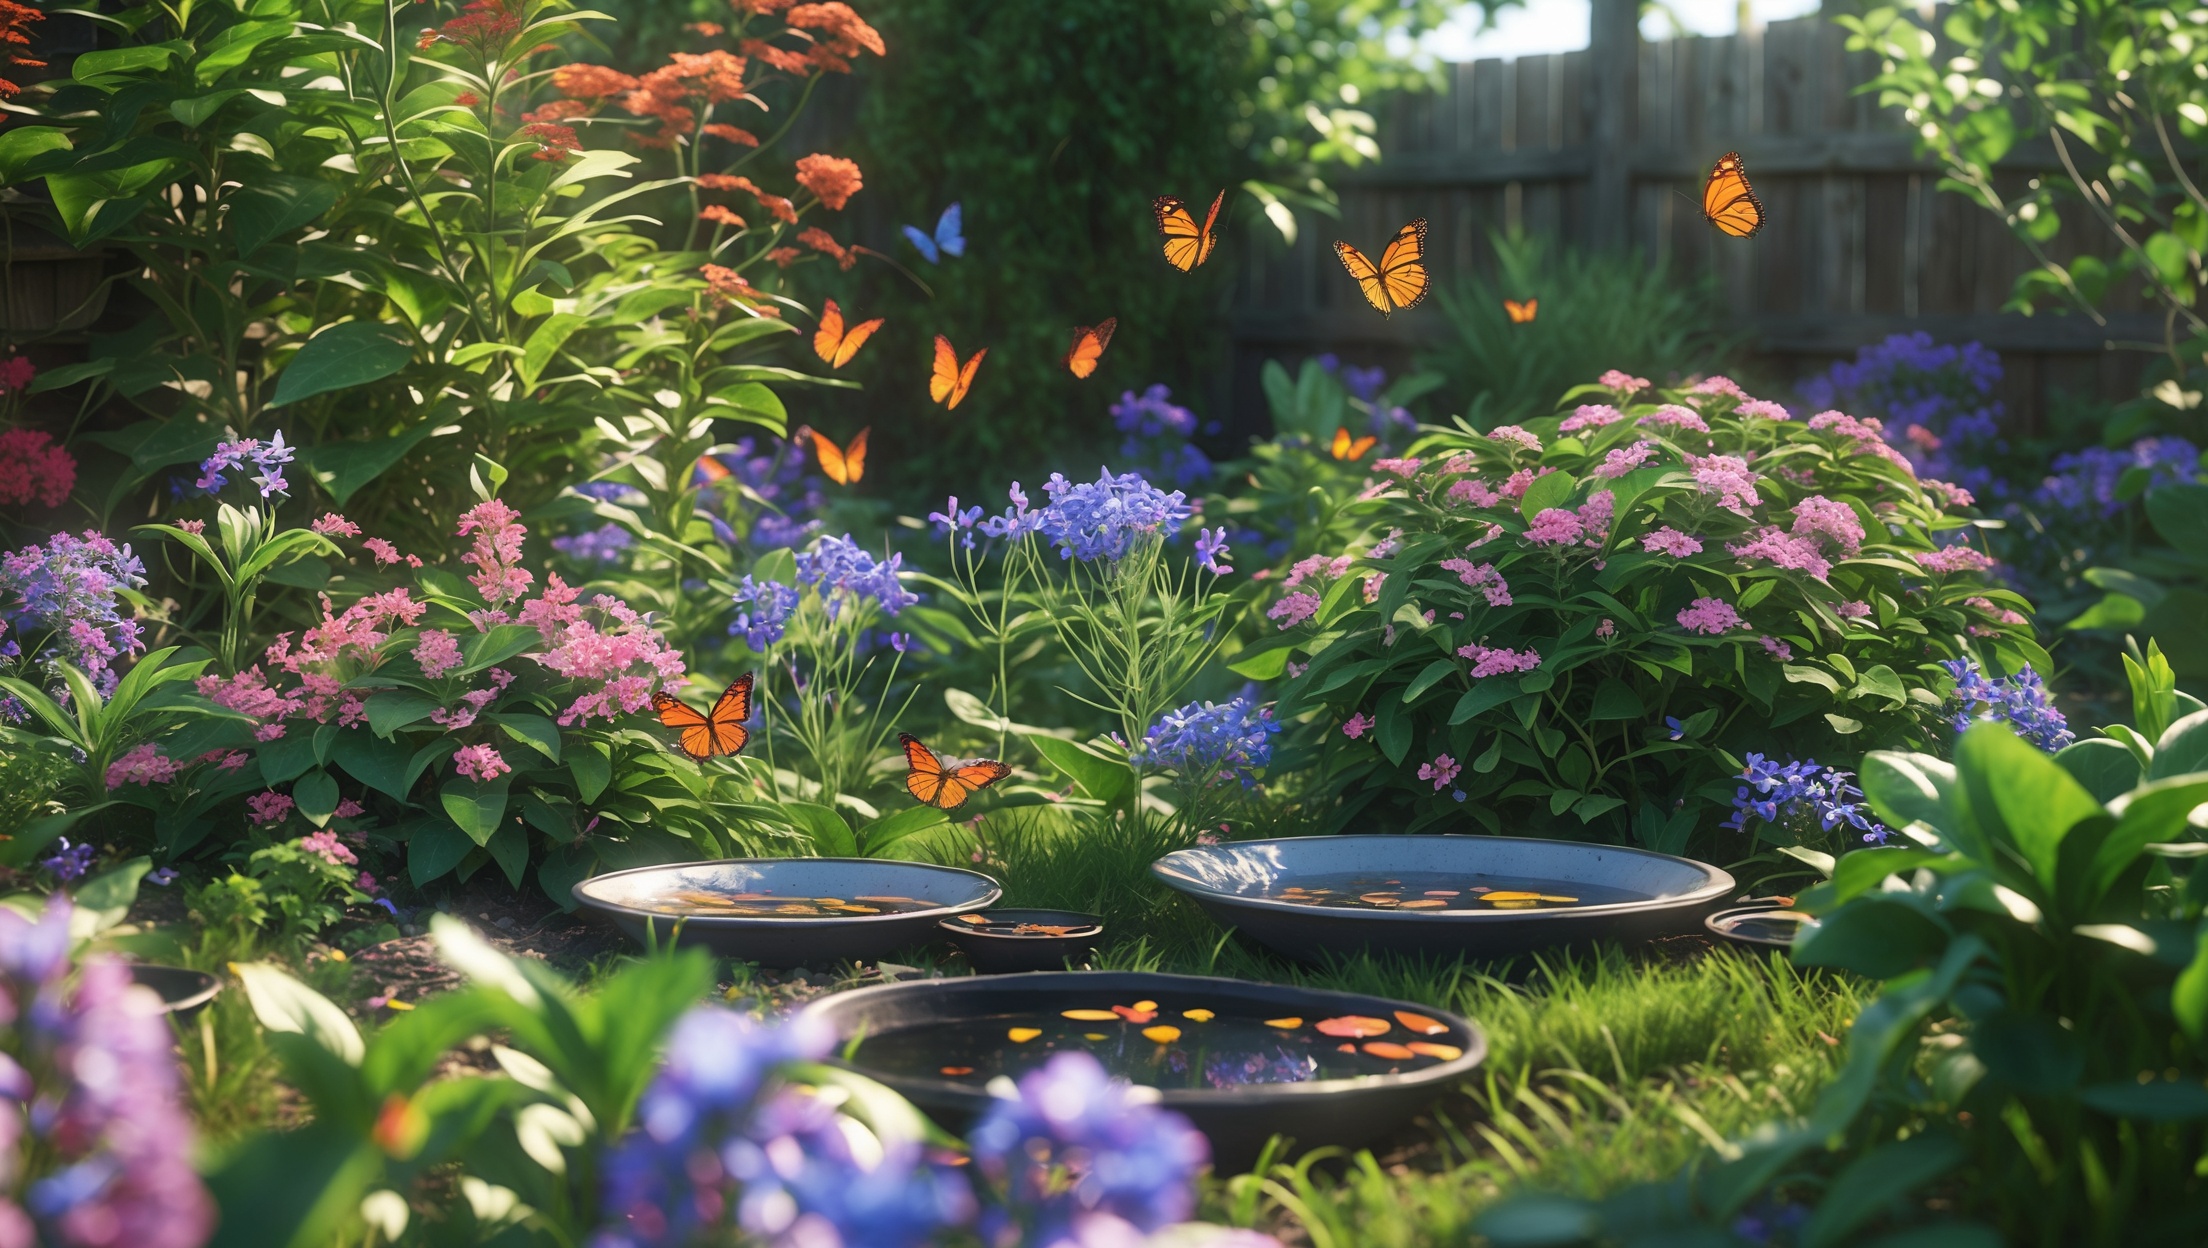
Introduction: Why Create a Backyard Butterfly Habitat?
Imagine stepping outside your back door and finding yourself surrounded by fluttering splashes of color: monarchs gliding gracefully, swallowtails sipping from vibrant blooms, and painted ladies basking on sun-warmed stones. Building a backyard butterfly habitat is more than just an aesthetic choice—it’s a practical, rewarding way to support declining pollinator populations and contribute to local biodiversity. Unlike generic garden projects, creating a dedicated butterfly oasis requires thoughtful planning, from choosing the right native plants to ensuring essential resources like water and shelter. In this step-by-step guide, we’ll walk you through the entire process: identifying the best location, selecting host and nectar plants for your region, setting up features that encourage breeding and overwintering, and establishing sustainable maintenance routines. Whether you have a small urban plot or a sprawling yard, you’ll find actionable advice to transform any space into a haven for these enchanting insects. Ready to make your garden a vital stop on the butterfly highway? Let’s get started.
Understanding Butterfly Needs: The Essentials
The Butterfly Life Cycle and Habitat Requirements
Before you start digging or planting, it’s crucial to understand what butterflies require throughout their life cycle. Butterflies undergo complete metamorphosis: egg, caterpillar (larva), chrysalis (pupa), and adult. Each stage demands different resources, and a successful habitat must cater to all four.
- Host Plants: These are specific plants where butterflies lay their eggs and caterpillars feed. Each butterfly species has preferred host plants (e.g., milkweed for monarchs).
- Nectar Sources: Adult butterflies need abundant blooming flowers with accessible nectar.
- Water and Minerals: Butterflies “puddle”—they sip water from shallow puddles or damp soil to acquire essential salts and minerals.
- Shelter: Areas protected from wind, rain, and predators are vital for resting and overwintering.
Step 1: Choosing the Right Location
Sunlight and Shelter Considerations
Butterflies are cold-blooded and require warmth to be active. Select a site that receives at least six hours of direct sunlight daily. Avoid low-lying spots where cold air or frost lingers, and steer clear of areas with heavy foot traffic or frequent disturbances.
Wind Protection
Butterflies prefer calm areas. Use existing structures, fences, or dense hedges as windbreaks. If natural protection is lacking, plant shrubs or install lattice screens on the habitat’s windward side.
Step 2: Planning and Designing Your Butterfly Oasis
Mapping Out the Space
Sketch your intended area. Note sun patterns, existing plants, and space constraints. Even a 4’x6′ corner can host a thriving mini-habitat.
Creating Layers and Microclimates
- Canopy Layer: Small trees or large shrubs provide dappled shade and perches.
- Shrub Layer: Dense bushes offer shelter from predators and wind.
- Herbaceous Layer: Perennials and annuals supply nectar and host surfaces.
- Ground Layer: Leaf litter, mulch, and flat stones give caterpillars hiding spots and basking areas.
Pathways and Access
Incorporate simple pathways (mulch or stepping stones) for easy maintenance and observation without trampling delicate plants or larvae.
Step 3: Selecting and Sourcing Plants
Host Plants: The Foundation
Research butterflies native to your region and identify their larval host plants. Examples:
- Monarch: Milkweed (Asclepias spp.)
- Eastern Black Swallowtail: Parsley, fennel, dill
- Painted Lady: Thistle, mallow, hollyhock
- Gulf Fritillary: Passionflower (Passiflora spp.)
Purchase seeds or seedlings from reputable native plant nurseries. Avoid using invasive or non-native species, which may disrupt local ecosystems.
Nectar Plants: Year-Round Blooms
Select a mix of early, mid, and late-season bloomers for a continuous nectar supply. Top choices include:
- Spring: Phlox, wild violets, lupine
- Summer: Coneflower, bee balm, zinnias, black-eyed Susan
- Fall: Asters, goldenrod, joe-pye weed
Plant Diversity and Color
Butterflies are attracted to clusters of brightly colored flowers (especially purple, pink, red, and yellow). Plant in groups of three or more for maximum visual and pollinator impact.
Avoiding Pesticides
Never use chemical pesticides or herbicides in or near your butterfly habitat. Even “safe” products can be lethal to caterpillars and adults.
Step 4: Preparing the Site
Clearing and Amending the Soil
Remove turf grass, weeds, and debris. Loosen soil to a depth of 8–12 inches. Mix in compost or well-rotted manure to boost fertility and drainage. Avoid chemical fertilizers, which can harm beneficial insects.
Mulching and Moisture Management
Apply a 2–3 inch layer of organic mulch (like shredded leaves or bark) around new plantings. Keep mulch away from plant stems to prevent rot. Mulch conserves moisture, suppresses weeds, and provides habitat for overwintering chrysalises.
Step 5: Planting Your Butterfly Garden
Spacing and Arrangement
Follow plant spacing recommendations on nursery tags. Group the same species together for easier pollinator access. Place taller plants at the back (north or west side) and shorter plants in front to maximize sun exposure.
Transplanting Tips
- Water seedlings before planting.
- Dig holes twice the width of the root ball.
- Gently loosen roots and plant at the same depth as the nursery container.
- Firm soil around each plant and water thoroughly.
Direct Sowing vs. Seedlings
Some natives prefer direct sowing in fall or early spring (e.g., milkweed, coneflower). For quicker results, use greenhouse-grown seedlings.
Step 6: Adding Butterfly-Friendly Features
Puddling Stations
Butterflies need shallow water to drink and absorb minerals. Create a puddling station by filling a shallow dish or saucer with wet sand, adding a few flat stones for perching. Refresh water regularly, especially during dry spells.
Basking Rocks
Place several flat stones in sunny spots. Butterflies will use these to warm their wings on cool mornings.
Shelter and Overwintering Sites
- Install evergreen shrubs or brush piles for wind protection.
- Leave leaf litter and standing stalks in fall to provide overwintering sites for chrysalises and eggs.
- Consider a small log pile or a vertical bundle of bamboo canes for additional habitat diversity.
Discouraging Predators
If you have bird feeders nearby, relocate them away from your butterfly garden to reduce predation on caterpillars and adults.
Step 7: Sustainable Maintenance and Monitoring
Watering
New plantings require frequent watering (1–2″ per week). Once established, native plants are typically drought-tolerant. Water early in the morning to minimize evaporation and fungal diseases.
Weed Control
Hand-pull weeds regularly, especially in the first season. Avoid herbicides; persistent weeding pays off as native plants mature and outcompete invasives.
Pruning and Deadheading
Remove spent blooms to encourage continuous nectar production. Prune shrubs and perennials after flowering to maintain shape and health.
Seasonal Cleanup
- Fall: Leave dead stems and leaf litter until spring to support overwintering insects.
- Spring: Cut back dead growth after temperatures consistently exceed 50°F (10°C).
Monitoring and Citizen Science
Track butterfly visitors using a simple journal or apps like iNaturalist. Submit observations to citizen science projects (e.g., Monarch Watch, Journey North) to contribute valuable data to conservation efforts.
Step 8: Troubleshooting Common Challenges
Low Butterfly Numbers
Be patient. It may take a season or two for word to spread among butterflies and for plants to mature. Increase plant diversity and avoid yard-wide pesticide use.
Dealing with Aphids and Pests
Encourage natural predators like ladybugs and lacewings. Hose off aphids with water if infestations become severe.
Managing Invasive Plants
Promptly remove aggressive species that crowd out natives. Regular monitoring and hand-pulling are key.
Step 9: Enhancing Your Butterfly Habitat Over Time
Expanding Plant Diversity
Add new host and nectar plants each year to support a wider range of butterfly species. Rotate annuals and experiment with different native perennials for season-long interest.
Integrating with Other Wildlife Features
- Combine your butterfly garden with other pollinator-friendly elements like bee houses and hummingbird feeders.
- Plant native grasses for additional caterpillar habitat.
- Create a “wild corner” with minimal maintenance for maximum wildlife benefit.
Community Engagement
Invite neighbors or local schools to tour your habitat, or offer excess native plant seeds to encourage more butterfly-friendly yards in your area.
Conclusion: Enjoying and Sharing Your Butterfly Oasis
Establishing a backyard butterfly habitat is more than a weekend project—it’s a living, evolving ecosystem that rewards your care and attention for years to come. By providing native host and nectar plants, clean water, shelter, and a pesticide-free environment, you create a sanctuary for butterflies and countless other beneficial creatures. Your efforts help reverse pollinator decline, foster biodiversity, and offer a daily dose of natural wonder right outside your door. As your habitat matures, you’ll witness the full butterfly life cycle, from tiny eggs to caterpillars, chrysalises, and soaring adults. Share your successes and lessons learned with friends, family, and the broader community; even small gardens can inspire big changes. Above all, enjoy the beauty, tranquility, and ecological impact of your personal butterfly oasis—knowing you’re making a tangible difference, one wingbeat at a time.