
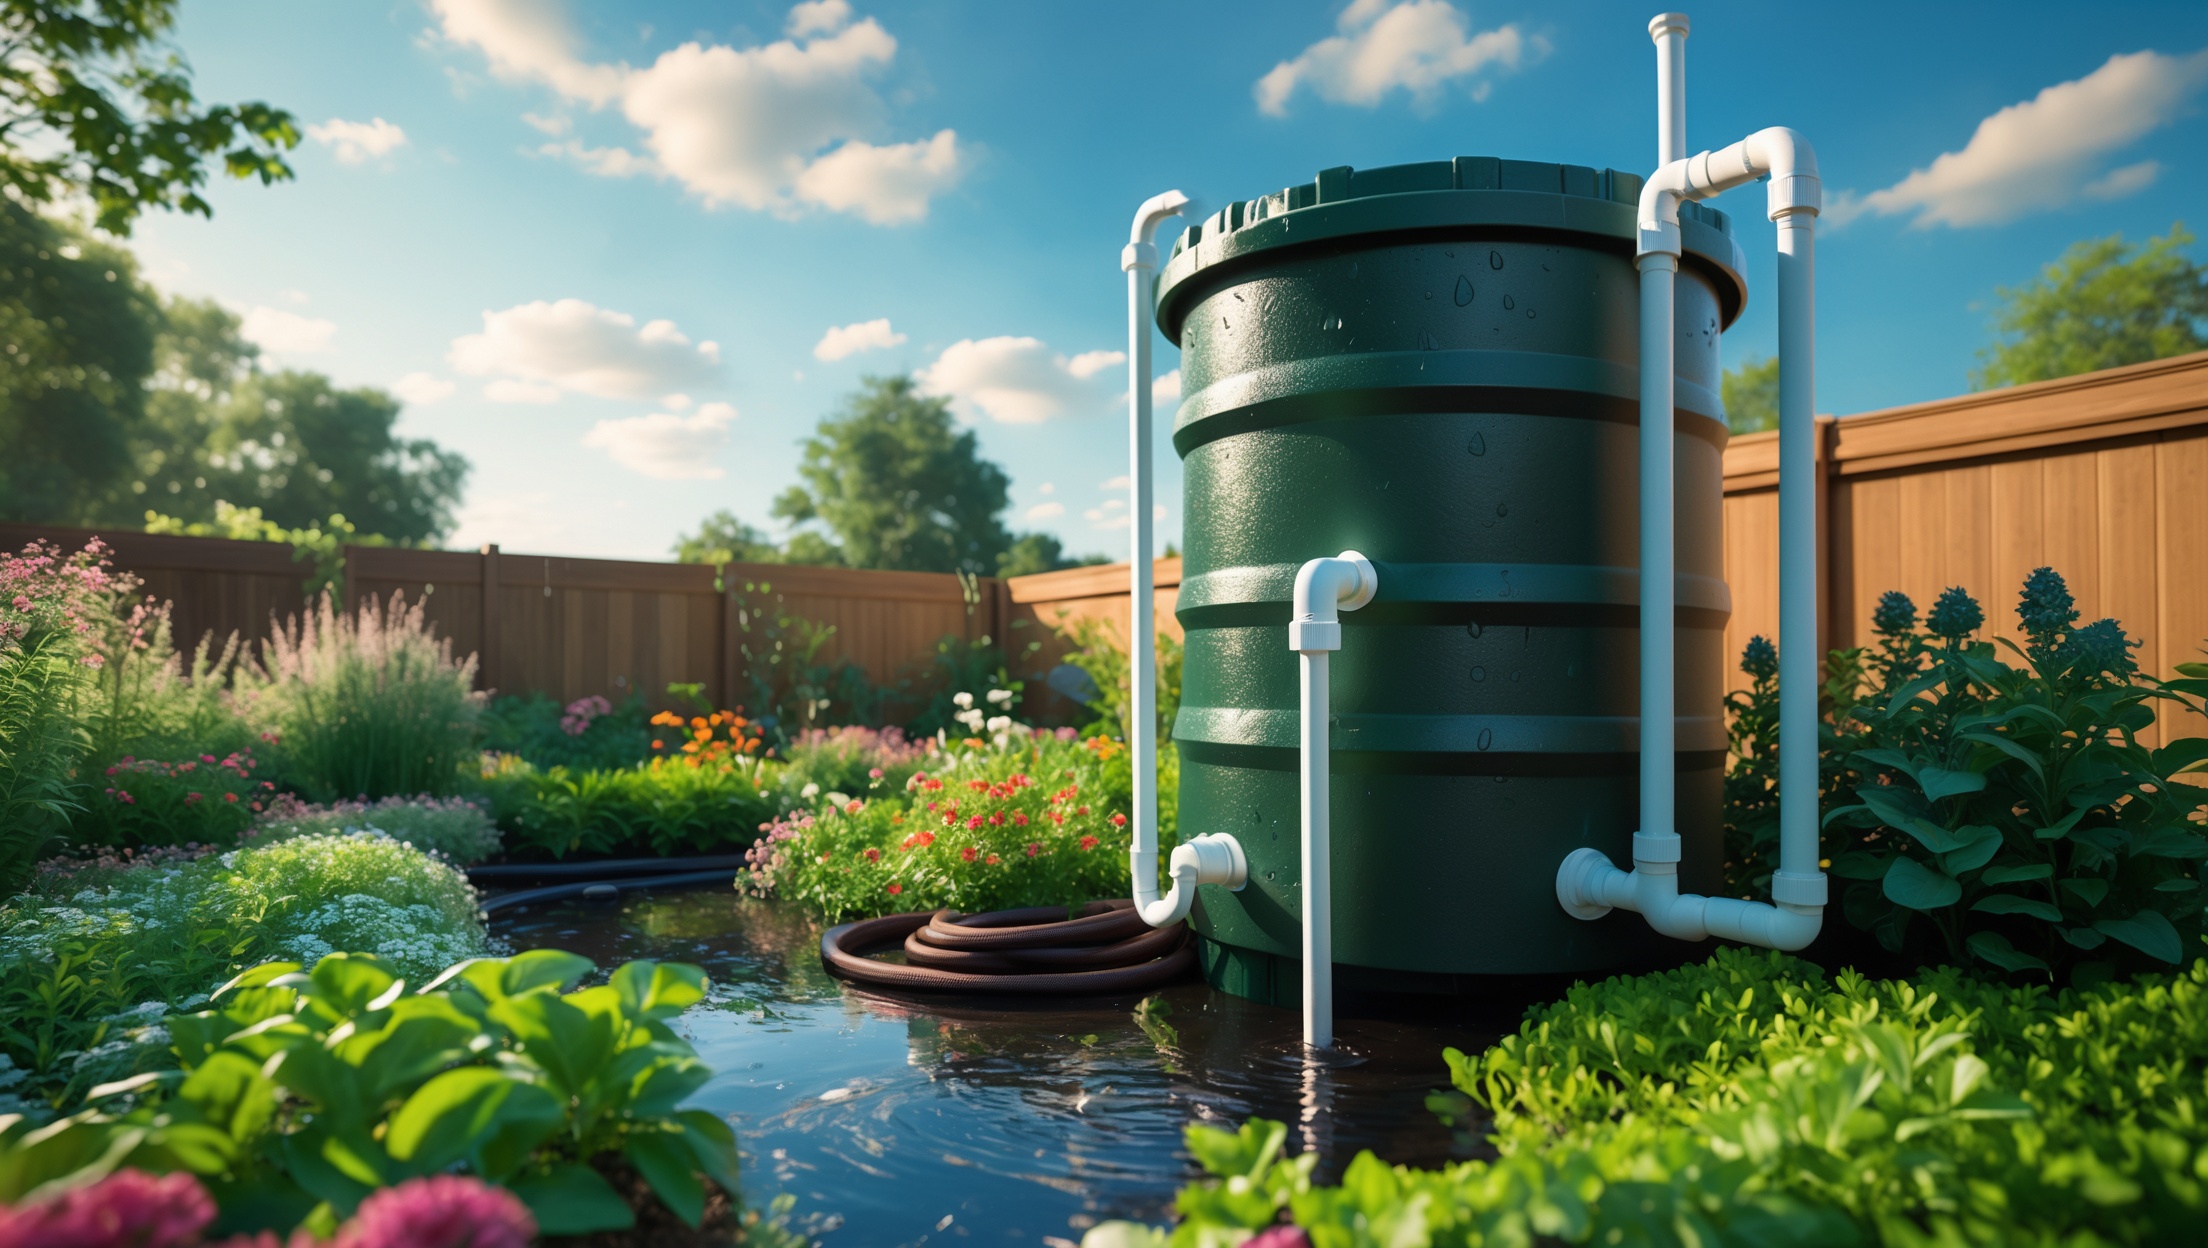
Introduction
Water is essential for a thriving garden, but increasing water costs, drought conditions, and environmental concerns make sustainable solutions more important than ever. One of the most effective and eco-friendly ways homeowners can support their gardens is by installing a rainwater harvesting system. This method captures rainwater from your roof, stores it safely, and delivers it directly to your garden beds—reducing your reliance on municipal water and lowering your utility bills. Although the concept may seem daunting at first, building a reliable rainwater harvesting setup is well within reach for most DIY enthusiasts. In this comprehensive guide, we’ll walk you through the entire process step-by-step—from assessing your site and choosing the right components, to installation and ongoing maintenance. By the end, you’ll be equipped with practical knowledge to confidently build a system tailored to your garden’s needs, ensuring a sustainable, flourishing landscape for years to come.
Understanding Rainwater Harvesting: How It Works
Before getting started, it’s important to understand the basic principles of rainwater harvesting. At its core, the system diverts water from your roof through gutters and downspouts into a storage container, usually a barrel or tank. This water is then filtered and delivered to your garden via hoses, watering cans, or drip irrigation systems. The process is simple, but a well-designed system maximizes collection, keeps water clean, and makes distribution easy.
- Catchment Area: Typically your home’s roof, which collects rainwater.
- Conveyance System: Gutters and downspouts that transport water from the roof to storage.
- First-Flush Diverter: Optional device to discard the initial, debris-laden runoff.
- Storage: Barrels or tanks that hold harvested water.
- Distribution: Mechanism for getting water from storage to your plants—via gravity, pumps, or manual methods.
Planning Your Rainwater Harvesting System
Assessing Your Site
Start by evaluating your property. Identify which roof areas are suitable for rainwater collection—the more surface area, the greater your harvesting potential. Measure the size of your catchment area, noting roof material (metal or tile is best; avoid collecting from roofs with asbestos or treated wood shingles).
Estimating Water Needs and Storage Capacity
Calculate your garden’s irrigation requirements. Consider:
- Average rainfall in your area (check local weather data).
- Size of your catchment area (roof square footage).
- Frequency and volume of garden watering.
Use the formula: Gallons Collected = Roof Area (sq. ft.) × Rainfall (inches) × 0.623. For example, a 500 sq. ft. roof with 1 inch of rain yields about 311 gallons.
Checking Local Regulations
Some regions have regulations regarding rainwater harvesting—check with your city or municipality to ensure compliance, especially if you plan to use large tanks or connect the system to household plumbing.
Choosing the Right Equipment
Rain Barrels vs. Storage Tanks
- Rain Barrels: Typically 50–100 gallons, great for small gardens and easy DIY installation.
- Storage Tanks: 200–1000+ gallons, ideal for larger gardens or households with high water needs. Require more space and planning.
Material Choices
- Plastic: Most common, lightweight, affordable, and UV-resistant.
- Metal: Durable but prone to rust; best for specialized setups.
- Repurposed Barrels: Ensure they are food-grade and have never held chemicals.
Essential Components
- Gutter Screens: Prevent leaves and debris from entering the system.
- Downspout Diverter: Directs water from downspouts into your barrel/tank.
- Overflow Valve: Routes excess water safely away when the tank is full.
- Spigot: For easy access to stored water.
- Stand/Base: Elevates barrel for gravity-fed pressure.
- First-Flush Diverter (optional): Improves water quality by discarding first runoff.
Tools You’ll Need
- Drill with hole saw attachment
- Level
- Measuring tape
- Utility knife
- Screwdriver
- Adjustable wrench
- Safety gloves and goggles
Step-by-Step Installation Guide
1. Prepare the Collection Area
Clean your gutters and downspouts thoroughly to ensure efficient water flow and prevent clogging. Install gutter screens if you haven’t already, and check for leaks or damage.
2. Choose and Prepare the Barrel Location
- Pick a spot near a downspout and close to your garden for easy access.
- Ensure the area is level and stable—a full barrel is very heavy.
- If possible, elevate the barrel 12–18 inches using concrete blocks or a sturdy wooden stand. This increases water pressure for gravity-fed distribution.
3. Install the Downspout Diverter
- Measure the height of your barrel’s inlet port.
- Mark and cut the downspout at the correct height, using a hacksaw.
- Attach the diverter according to manufacturer instructions, ensuring a tight fit to prevent leaks.
- Connect the diverter’s hose or pipe to your barrel’s inlet.
4. Prepare the Barrel or Tank
- If not pre-drilled, use a hole saw to create holes for the spigot (near the bottom), overflow valve (near the top), and inlet (from the downspout).
- Install the spigot with watertight washers and secure from inside with a nut.
- Attach the overflow fitting and route the hose away from your home’s foundation.
- Fit the inlet with a fine mesh screen to keep mosquitoes and debris out.
5. Secure and Test the System
- Place the barrel on its stand and check for stability.
- Ensure all connections are tight and leak-free.
- Simulate rain by running water through the gutter and confirm that water flows into the barrel and excess runs out the overflow safely.
6. Set Up Distribution
- Attach a hose to the spigot for direct watering, or fill watering cans as needed.
- For drip irrigation, connect a low-pressure drip kit designed for rain barrels, ensuring compatible fittings and backflow prevention.
- Label the barrel as “Non-Potable Water” if required by local code; rainwater should not be used for drinking or cooking without advanced filtration and treatment.
Advanced Options and Customization
Linking Multiple Barrels
If you need more storage, connect barrels in series with short hoses or pipes. Install overflow ports at the same height on each barrel so that when one fills, the excess flows into the next.
First-Flush Diverter
Adding a first-flush diverter can greatly improve water quality by discarding the first few gallons from each rain, which often contains the most debris and contaminants. These can be DIY or purchased as kits.
Pumps and Pressurized Systems
For larger gardens or distant beds, consider a small submersible pump or solar-powered pump to move water more efficiently. Be sure the pump is rated for outdoor and freshwater use.
Underground Cisterns
For maximum capacity and a more discreet installation, some homeowners opt for underground tanks. These require more planning and professional installation but can store thousands of gallons out of sight.
Maintenance Best Practices
- Inspect Gutters and Downspouts Monthly: Remove leaves and debris to maintain flow.
- Check Barrel/Tank for Leaks: Examine seams, valves, and hoses; repair promptly to avoid water loss.
- Clean the Barrel Seasonally: Drain and rinse at least twice a year to prevent algae and sediment buildup.
- Monitor for Mosquitoes: Keep mesh screens intact and consider adding mosquito dunks (safe for plants).
- Winterize in Freezing Climates: Drain barrels before first frost and disconnect from downspouts to prevent cracking.
- Inspect Overflow and Distribution: Ensure overflow drains away from foundations; check hoses and drip lines for clogs.
Common Mistakes to Avoid
- Underestimating Water Needs: Many first-time installers opt for too-small barrels. Calculate carefully based on your garden size and rainfall patterns.
- Improper Barrel Placement: Placing barrels on unstable or uneven surfaces can lead to tipping or rupture.
- Ignoring Maintenance: Neglecting gutters and barrel cleaning leads to clogs, poor water quality, and mosquito problems.
- Poor Overflow Management: Failing to direct overflow away from structures risks foundation damage.
- Using Non-Food Grade Containers: Never use barrels that held toxic substances.
- Not Checking Local Codes: Some areas restrict rainwater harvesting; always verify legality and code requirements.
Cost Breakdown and Budgeting
Typical Expenses
- Rain Barrel: $50–$200 per barrel (size and quality vary).
- Diverter Kit: $20–$50.
- Stand/Base Materials: $10–$40 (concrete blocks or lumber).
- Hoses, Valves, and Fittings: $20–$60.
- Optional Pump: $50–$150.
- First-Flush Diverter: $15–$40.
Ways to Save
- Repurpose food-grade barrels from local suppliers or food processors.
- DIY stands from reclaimed materials.
- Shop local for used components or check community garden groups for deals.
Long-Term Savings
While initial setup costs can range from $100–$500 depending on system size, most homeowners recoup expenses within a few seasons via reduced water bills—especially in areas with watering restrictions or tiered pricing. Plus, the environmental benefits are priceless.
Safety and Water Quality Considerations
- Non-Potable Use Only: Unless you install advanced filtration and treatment, harvested rainwater should be used only for irrigation, not for drinking or food prep.
- Keep Barrels Covered: Prevent accidents, mosquito breeding, and contamination.
- Label Clearly: Indicate “Non-Potable Water” if required by regulation.
- Avoid Toxic Runoff: Do not collect from roofs treated with lead-based paint, certain wood preservatives, or containing asbestos.
- Child Safety: Secure lids tightly and consider locking mechanisms in homes with young children.
Conclusion
Building a home rainwater harvesting system for your garden is a practical, rewarding project that pays dividends for your wallet and the environment alike. By following the steps outlined above—from assessing your needs and choosing materials, to careful installation and regular maintenance—you’ll ensure a reliable source of irrigation water that supports healthy, resilient plants. Not only does this reduce your reliance on municipal sources, but it also helps manage stormwater runoff, lessening erosion and pollution in your community. Remember, the best systems are those tailored to your space, climate, and gardening habits—so don’t be afraid to start small and expand as you gain experience. With thoughtful planning and a bit of seasonal care, your rainwater harvesting setup will provide years of sustainable, guilt-free watering for everything from vegetable beds to flower borders. Ready to take the next step? Gather your tools and start harnessing the sky—it’s easier and more impactful than you might think.
Could you explain more about how the first-flush diverter works and whether it’s really necessary for a small residential system, or is that mostly important for larger setups?
A first-flush diverter is a device that channels the initial runoff from your roof away from your main storage tank. This first flow usually contains most of the debris, dust, and contaminants. Even in small residential systems, it’s helpful for keeping your stored water cleaner, especially if you plan to use it for garden irrigation. While not absolutely required, it can reduce maintenance and improve water quality in any size system.
Once the water is stored, what’s the easiest way to attach a drip irrigation system? Are there any compatibility concerns I should know about before buying parts for the distribution step?
To connect a drip irrigation system, install a spigot or outlet on your storage tank and use a filter to prevent debris from clogging your drip lines. Most drip systems are compatible with 1/2-inch or 3/4-inch threaded outlets, but check the thread size and pressure requirements before buying. Low-pressure drip systems work best with gravity-fed tanks; if your tank is low, you might need a small pump for consistent flow.
When choosing storage tanks or barrels, does the material make a big difference in keeping the water clean and safe for garden use? Are there certain materials you recommend or avoid for systems exposed to lots of sunlight?
Yes, the material of your storage tank or barrel does matter. For systems exposed to lots of sunlight, look for food-grade plastic (like polyethylene) or UV-resistant materials, as these help prevent algae growth and chemical leaching. Avoid metal barrels that can rust or any non-food-grade plastics, which may release harmful substances into the water.
Is it necessary to have a first-flush diverter for a basic home rainwater harvesting system, or can I get by without one if I regularly clean my gutters and use a fine screen on the barrel?
A first-flush diverter is recommended because it helps keep contaminants like dust, debris, and bird droppings from entering your storage barrel, even if you clean your gutters and use a fine screen. While you can use the system without it, the water quality will be better with a diverter, especially for irrigation.
You mentioned the option of using either gravity or pumps for distributing the water. For someone just starting out on a budget, is it practical to rely on gravity alone, or would I likely run into issues with low water pressure?
Relying on gravity can work well if your storage tank is elevated higher than your garden, as this provides enough pressure for basic watering. For small gardens or hand watering, gravity is usually fine. If you need stronger pressure for sprinklers or have a flat yard, you might find gravity alone a bit limited.
I’m a bit concerned about ongoing maintenance. What steps do you recommend for keeping the stored rainwater clean and making sure the system doesn’t get clogged over time?
To keep your rainwater harvesting system running smoothly, regularly clean the gutters and downspouts to prevent debris from entering the tank. Inspect and clean the first-flush diverter and any mesh screens or filters every few weeks. It’s also helpful to periodically check the storage tank for sediment buildup and clean it if needed. These steps will help maintain water quality and prevent clogs.